If I’ve learned anything from homeschooling, it’s that there’s no one “right” way to do it. Every parent is different. Every child is different. Every child is different at different ages. Every season of life as a family is different. All these differences factor in to how your family approaches homeschooling at any given time. Your overriding philosophies may not changes a whole lot, but how learning and teaching actually play out will probably evolve/adapt over time.
With that in mind, I still find it really helpful to read about how other families approach homeschooling. So I wanted to share our current curriculum, methods, and philosophies with you. And most importantly lay out how we do all our homeschooling in 30 minutes or less a day.
My oldest son is six, and is currently doing a first grade curriculum. My second son is four, and is doing kindergarten work…though technically he is not old enough to be registered for kindergarten with the state. But that’s the beauty of homeschooling: you can teach them when they’re ready. My youngest son is 18 months and is still learning how to run without falling on his face. Didn’t want to leave anyone out. 😉
Let’s start by laying out the four main philosophies my husband and I have landed on when it comes to education.
1) Early education is all about exposure. We try to introduce the kids to a wide variety of subjects. We don’t go into a lot of detail, unless the kids are particularly interested in the subject and ask for more information. The theory is that the more ideas kids are exposed to early on, the easier it will be for them to deeply understand and make connections between those ideas when they are reexamined later on.
2) Learning to read well can be the foundation of any educational path. If you can read, you can teach yourself anything. Obviously we have no personal experience with homeschooling teens, but our plan is to essentially have the kids teach themselves. We will be there to guide them, and provide assistance where necessary. However, if they know the subject matter they need to learn for any given school year (there are local, state, and national standards that everyone is supposed to be meeting), we feel there is no reason why they can’t read about those subjects and teach themselves. Knowing how to learn something on your own does not come naturally to everyone. The more you practice it, the easier it will be. This method teaches self-discipline, and ultimately gives the child confidence in their ability to achieve whatever they set their minds on achieving in life. If you can teach yourself, you can learn to do just about anything.
3) Education should be worked into every day life. We believe that education should be more than just worksheets and tests. It’s one of the main reasons we decided to homeschool. We feel that there is much for children to learn by just being invited in on every day adult activities. As Albert Einstein wisely said, “I never teach my pupils, I only attempt to provide the conditions in which they can learn.” When I’m cooking, I sometimes ask the kids if they’d like to help. We talk about what goes into a recipe, how those ingredients work together the way they do, and why sanitation is important – surface level chemistry and intro to cooking. If my husband is working in the garden, he’ll invite the boys to join him. They discuss how shovels are levers, how plants grow, what the earth is made of, the nutrients and energy our foods give us, how to calculate the number of plants that can fit in a given area, how to measure the distance between plants, etc. – plenty of science and math lessons there. At the store the kids can practice estimating prices and adding up our cart total, or figuring out if they have enough money in their wallets to buy a certain item – shopping is a great forum for math. 🙂 Working lessons into these everyday things doesn’t take a lot of extra effort. Learning seems practical and natural to children in these situations. It teaches them to ask lots of questions. They can even feel helpful while learning. A lot of times when you bring kids in on your activities you end up learning new things together, which is always pretty sweet. There’s value in letting our children see us continuing to learn too.
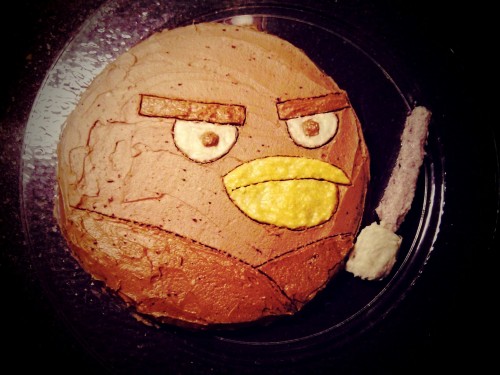
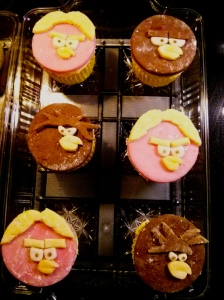
4) Let them play. Especially when kids are young. It still amazes me how much of our school lessons gets worked into my children’s imaginary play. Recently, our science lesson on vacuums (outer space being a prime example) led to one of them asking about planets, which led to many meal-time discussions on space. Now when they play everything is disappearing into black holes, and a lot of their Angry Birds have made trips to “the hot planet” (Mercury) or the rings on Saturn or even into the red storm on Jupiter. Letting them play with those ideas reinforces the information we’ve covered. Of course they don’t fully understand it. They don’t need to. The ideas have been put out there and are now swirling around in their heads. It’s important that they have enough time to process all that information through play. This is why our actual sit-down school time is 30 minutes or less every day. The rest of the time I let them play and explore; that’s when a lot of real learning happens anyway.
Now for an overview of our methodologies and the resources we use for each year: preschool through 2nd grade.
Preschool
For preschool we focus mainly on the alphabet and phonics – i.e., priming the kids for reading. Sesame Street
is my favorite supplemental tool. It’s free, it can easily be worked into a morning routine, and the kids learn effortlessly. There are even old episodes on Amazon Prime and Netflix. If you’re looking to cover a particular letter, there’s a Sesame Street Show Guide where you can search for “letter _x_” and it will bring up the episodes that cover that letter. It couldn’t be easier.
Additionally, we used the book Teach Me Mommy by Jill Dunford. You can buy a copy on Amazon for about $4 – I love cheap resources! 🙂 It covers a ton of subject matter, and includes lots of hands-on activity ideas.
We generally do one of those lessons a week, or spread the lesson out depending on how interested the child was with the subject. I love this book because it provides such broad exposure to so many things, but each lesson can easily be stretched out to include more detail if your child is interested.
We also touch on numbers, shapes, and colors. But only in as much as it comes up naturally during play.
I have also found Daniel Tiger’s Neighborhood (Netflix and PBS) and old Mr. Rodgers’ Neighborhood episodes (Amazon Prime) to be very helpful for teaching basic life skills, like how to share and how to calm down when you’re angry. Really great lessons to start focusing on for any parent, homeschooling or not. A semi-unfortunately side effect, for me at least, is that I end up singing those Daniel Tiger songs more than I care to admit. “When you have to go potty, STOP, and go right away….” If you sang that in your head, you already know what I’m talking about. 😉
Kindergarten
We use “kindergarten” rather loosely in our home. Basically it’s the time when we begin teaching the child to read. With our boys it’s been obvious when they are ready, because they just straight up asked us to teach them how to do it. For both, it was around their 4th birthday. This will vary for every child, and I think we as parents shouldn’t read too much into the timing of things. It doesn’t mean your child is “behind” if they aren’t ready to read as soon as another person’s child. Your child is focusing on learning other things. My kids don’t ask to use coloring books or scissors much, and thus are pretty bad at coloring in the lines and cutting things out. I’m tempted to feel that they’re behind in those skills sometimes. Especially when I see other kids making perfectly colored pictures, and cutting and pasting projects together like champs. In reality, my kids just aren’t focused on that. Those skills will come with time. They aren’t completely inept, and they have regular exposure to those activities. They just don’t care a lot about doing that well right now. And that’s OK. I have seen this reading thing become an issue. If you’ve spent the previous year or so focusing on phonics, sooner or later your kid is going to want to put the pieces together.
When our kids were ready to read, we helped them learn using the book The Reading Lesson: Teach Your Child to Read in 20 Easy Lessons by Michael Levin and Charan Langton. It’s basically the same as Teach Your Child to Read in 100 Easy Lessons
 by Siegfried Engelmann and Phyllis Haddox, the lessons are just broken down differently. You can get either book for somewhere between $11 and $20 on Amazon. The Teach Your Child to Read books cover all the common phonetic sounds, using short stories and little matching games to keep the child’s attention. Most of the other homeschoolers I know have used these books for teaching reading skills with great success. Although we have collectively noticed that about halfway through the book, kids start getting resistant. For most kids it seems like the resistance comes when they are on the verge of reading really “clicking”. Once our kids were over that hump, they breezed through the rest of the lessons. Just wanted to throw that out there in case anyone else encounters the same problem.

We don’t focus on much more than reading during our kindergarten year. For my kids, it has taken them the full year to go from not reading to reading proficiently with little parental assistance. I think that is incredible progress in a year for a 4 or 5 year old. Plus, our philosophy necessitates good reading skills as a base for all future homeschooling activities. So even if they learn absolutely nothing else in this entire year (which is pretty far-fetched for the little sponges), they are still given the basic skill needed to teach themselves just about anything in the future. We plugged away at the reading lessons as fast or as slow as the child maintained interest. Some weeks the boys asked to read every day. But there were also weeks where it felt like pulling teeth to get them to do the bare minimum (which I had designated in my mind as being one sentence for the entire week, just so they would still have some amount of practice). I never wanted to force them to do too much if they weren’t genuinely interested, because the goal was to foster a love of reading, not to make it feel like a chore.
Another great thing about homeschooling is that the younger kids tend to tune in to what the older kids are learning, so I’ve found they don’t need a lot of supplementation. However, when my oldest son wanted to learn more during his kindergarten year we purchased What Your Kindergartner Needs to Know by E.D. Hirsch and John Holdren. It covers basic history, geography, art, music, math, science, literature, and so on. There are lots of pictures, and the content is well laid out. They actually have these What Your ______ Needs to Know books for every year of elementary school (K-6). We have the first and second grade versions too, which I like just as much as the kindergarten one. They are wonderful if you are looking for extra material on a rainy day, or if you just want to make sure you cover all your bases. It’s a really well done series.
First Grade
For us, first grade is where things have gotten slightly more complex planning-wise. If you don’t know me, I LOOOOOVE to plan. It was super fun for me, in the nerdiest of ways, to plan out my son’s entire first grade school year. I spent a month researching which books I wanted to use, bought them, and then spent many evenings deciding exactly how to spread out the lessons over 40 weeks. I wrote everything out in my lovely House of Doolittle Teachers Planner . I loved every second. Organizing satisfies some kind of primal urge in my soul. My husband thinks I’m nuts. 🙂

However, the result of my organizing madness is what will hopefully be a great resource for other homeschoolers who are less planning-minded. Or at the very least, it might give you some ideas. I fully intend to use the exact same year plan with each of my kids.
I will do a follow-up post which will include exactly how I spread the following materials out over the whole school year, in case anyone is interested in seeing it. For now, I’ll just list the subjects and what resources we use to cover them.
Science: Building Foundations of Scientific Understanding: A Science Curriculum for K-2 by Bernard Nebel. This is hands-down my favorite homeschool book. I, personally, have learned a lot from going over the material with my kids. My parents are scientists. I always felt like I had a good grasp on scientific concepts; always did well in my science classes. But the way this book lays things out is so simple and logical that it gave me a much fuller understanding. I’m trying really hard not to overstate anything, but this book really blew me away.

The only down-side is that, unlike the other books I chose, this book works best when the teacher reads through the lesson ahead of time. I scheduled our science lessons on Mondays, because I knew at some point during the weekend I would have time to prepare. It takes me 20 minutes max to read over the lesson, underline the parts I want to focus on, and gather any materials we may need for experiments/demonstrations. I also supplement a lot of the lessons with videos on YouTube (not hard to find some good explanatory clips on there), or Bill Nye The Science Guy videos from the library. Not counting the prep time, doing the actual science lesson with your child will only take about 15-20 minutes. Obviously, this time can be extended if the child takes an interest in something and wants to continue discussing it. This happens a lot in our house, and we end up watching extra YouTube videos or repeating the experiments because the kids thought they were cool.
The broad breakdown of the subjects covered in the book are: the nature of matter, life science, physical science, and earth and space science. It’s kind of insane to me that my 4 and 6-year-olds grasp concepts like particles, vacuums, energy, and chemical reactions. This book is for K-2, and is the first in a series (there are two more volumes for grades 3-5 and 6-8, which look equally as good as the first). We will go through the material during both the first and second grade years, so the kids get a really firm grasp of the subject matter before moving on.
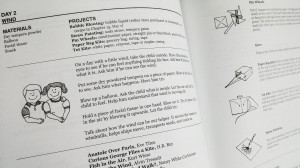
History: The Story of the World: Volume 1: Ancient Times by Susan Wise Bauer. You can also purchase the Activity Book, Audio CD, and/or the Test and Answer Key Book to go along with the main book. Our library has these extras, and we’ve used them from time to time. Overall I didn’t feel any of them were worth purchasing, but I have friends who have bought them for their kids and use them all the time. If your library, or a friend, has a copy of the extras they are definitely worth looking into. You have to decide what will work for your family. What we use the most are the coloring pages in the back of the activity book. I just photocopied them and have the boys color while I read the corresponding chapter. It seems to really help them focus on what I’m reading. But you could probably find similarly themed coloring pages online and print them off just as easily.
I love all the books that Susan Wise Bauer and her daughter, Jessie Wise, have written. Using them requires little to no preparation, and the kids love the material. They use the classical approach to educating, and their Well-Trained Mind website has a ton of great resources along with a nice explanation of what Classical Education entails.
The chapters in The Story of the World generally take 10 minutes to read. We do a chapter a week. When we’re done reading I try to review the key points with the kids, point out the places we were talking about on our world map (reminding them where we are in relation to that area), maybe watch a YouTube video that goes along with the lesson, and that’s pretty much it.

The book reads like a story. I’ve been impressed by how much the kids have recalled from the lessons, even months later. There are four volumes in the Story of the World series. My plan is to go through one each year, and then in 5th grade to start over and do each of them again. This first time through is for broad exposure to history and the gist of what happened in what order. The idea being that they’ll be able to remember that much more detail about events when we go over it again in 5th, 6th, 7th, and 8th grades. Maybe we’ll even do them again in high school. These books are definitely a worthwhile investment, and can be used over and over with every kid.
Art: Discovering Great Artists: Hands-On Art for Children in the Styles of the Great Masters by MaryAnn Kohl and Kim Solga. We do one of these projects a week. There are 110 lessons in the book. I chose a random 40 to fill up our current school year. I think this is a great book for an elementary school aged kid, possibly even junior high and high school. You could just try to make the projects more detailed/challenging as the child gets older. For the early elementary years we use this book as a way to expose the kids to all the different mediums and techniques, and to familiarize them with the names and works of famous artists.
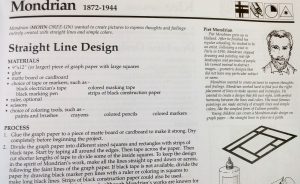
Each project is based on a well-known artist’s work. There is a short paragraph containing a mini-biography of the artist and an explanation of their type of artistry. The kids seem to pay attention when I read it, but I’m not sure how of that that information actually sticks with them at this point. The only artists my boys remember are the ones with Ninja Turtle counterparts. However, we have all loved every single project we’ve done from the book. They are very straight forward. As long as you have the materials on hand, they require no prep work either. These authors also have a handful of other neat kid art books that you can check out on Amazon or at your local library.
Math: Math in Minutes: Easy Activities for Children Ages 4-8 by Sharon MacDonald. I wouldn’t say that I use this book as a math curriculum, so much as I use the activity ideas in it to go along with what I’m teaching. I outlined our math plan for the year using local, state, and national standards lists. IXL is a great online resource for finding your state’s math standards. IXL also lists national math standards for each grade.
While Math in Minutes covers most of the standards, it’s not the type of book you can just work straight through. It’s a collection of hands-on activities that can be used to help your child understand a concept better.
A lot of these activity ideas can be found by searching something like “first grade math” on Pinterest or Google. Still, this book has great activities that my kids have enjoyed. It’s at least worth flipping through if you can find it at your library.
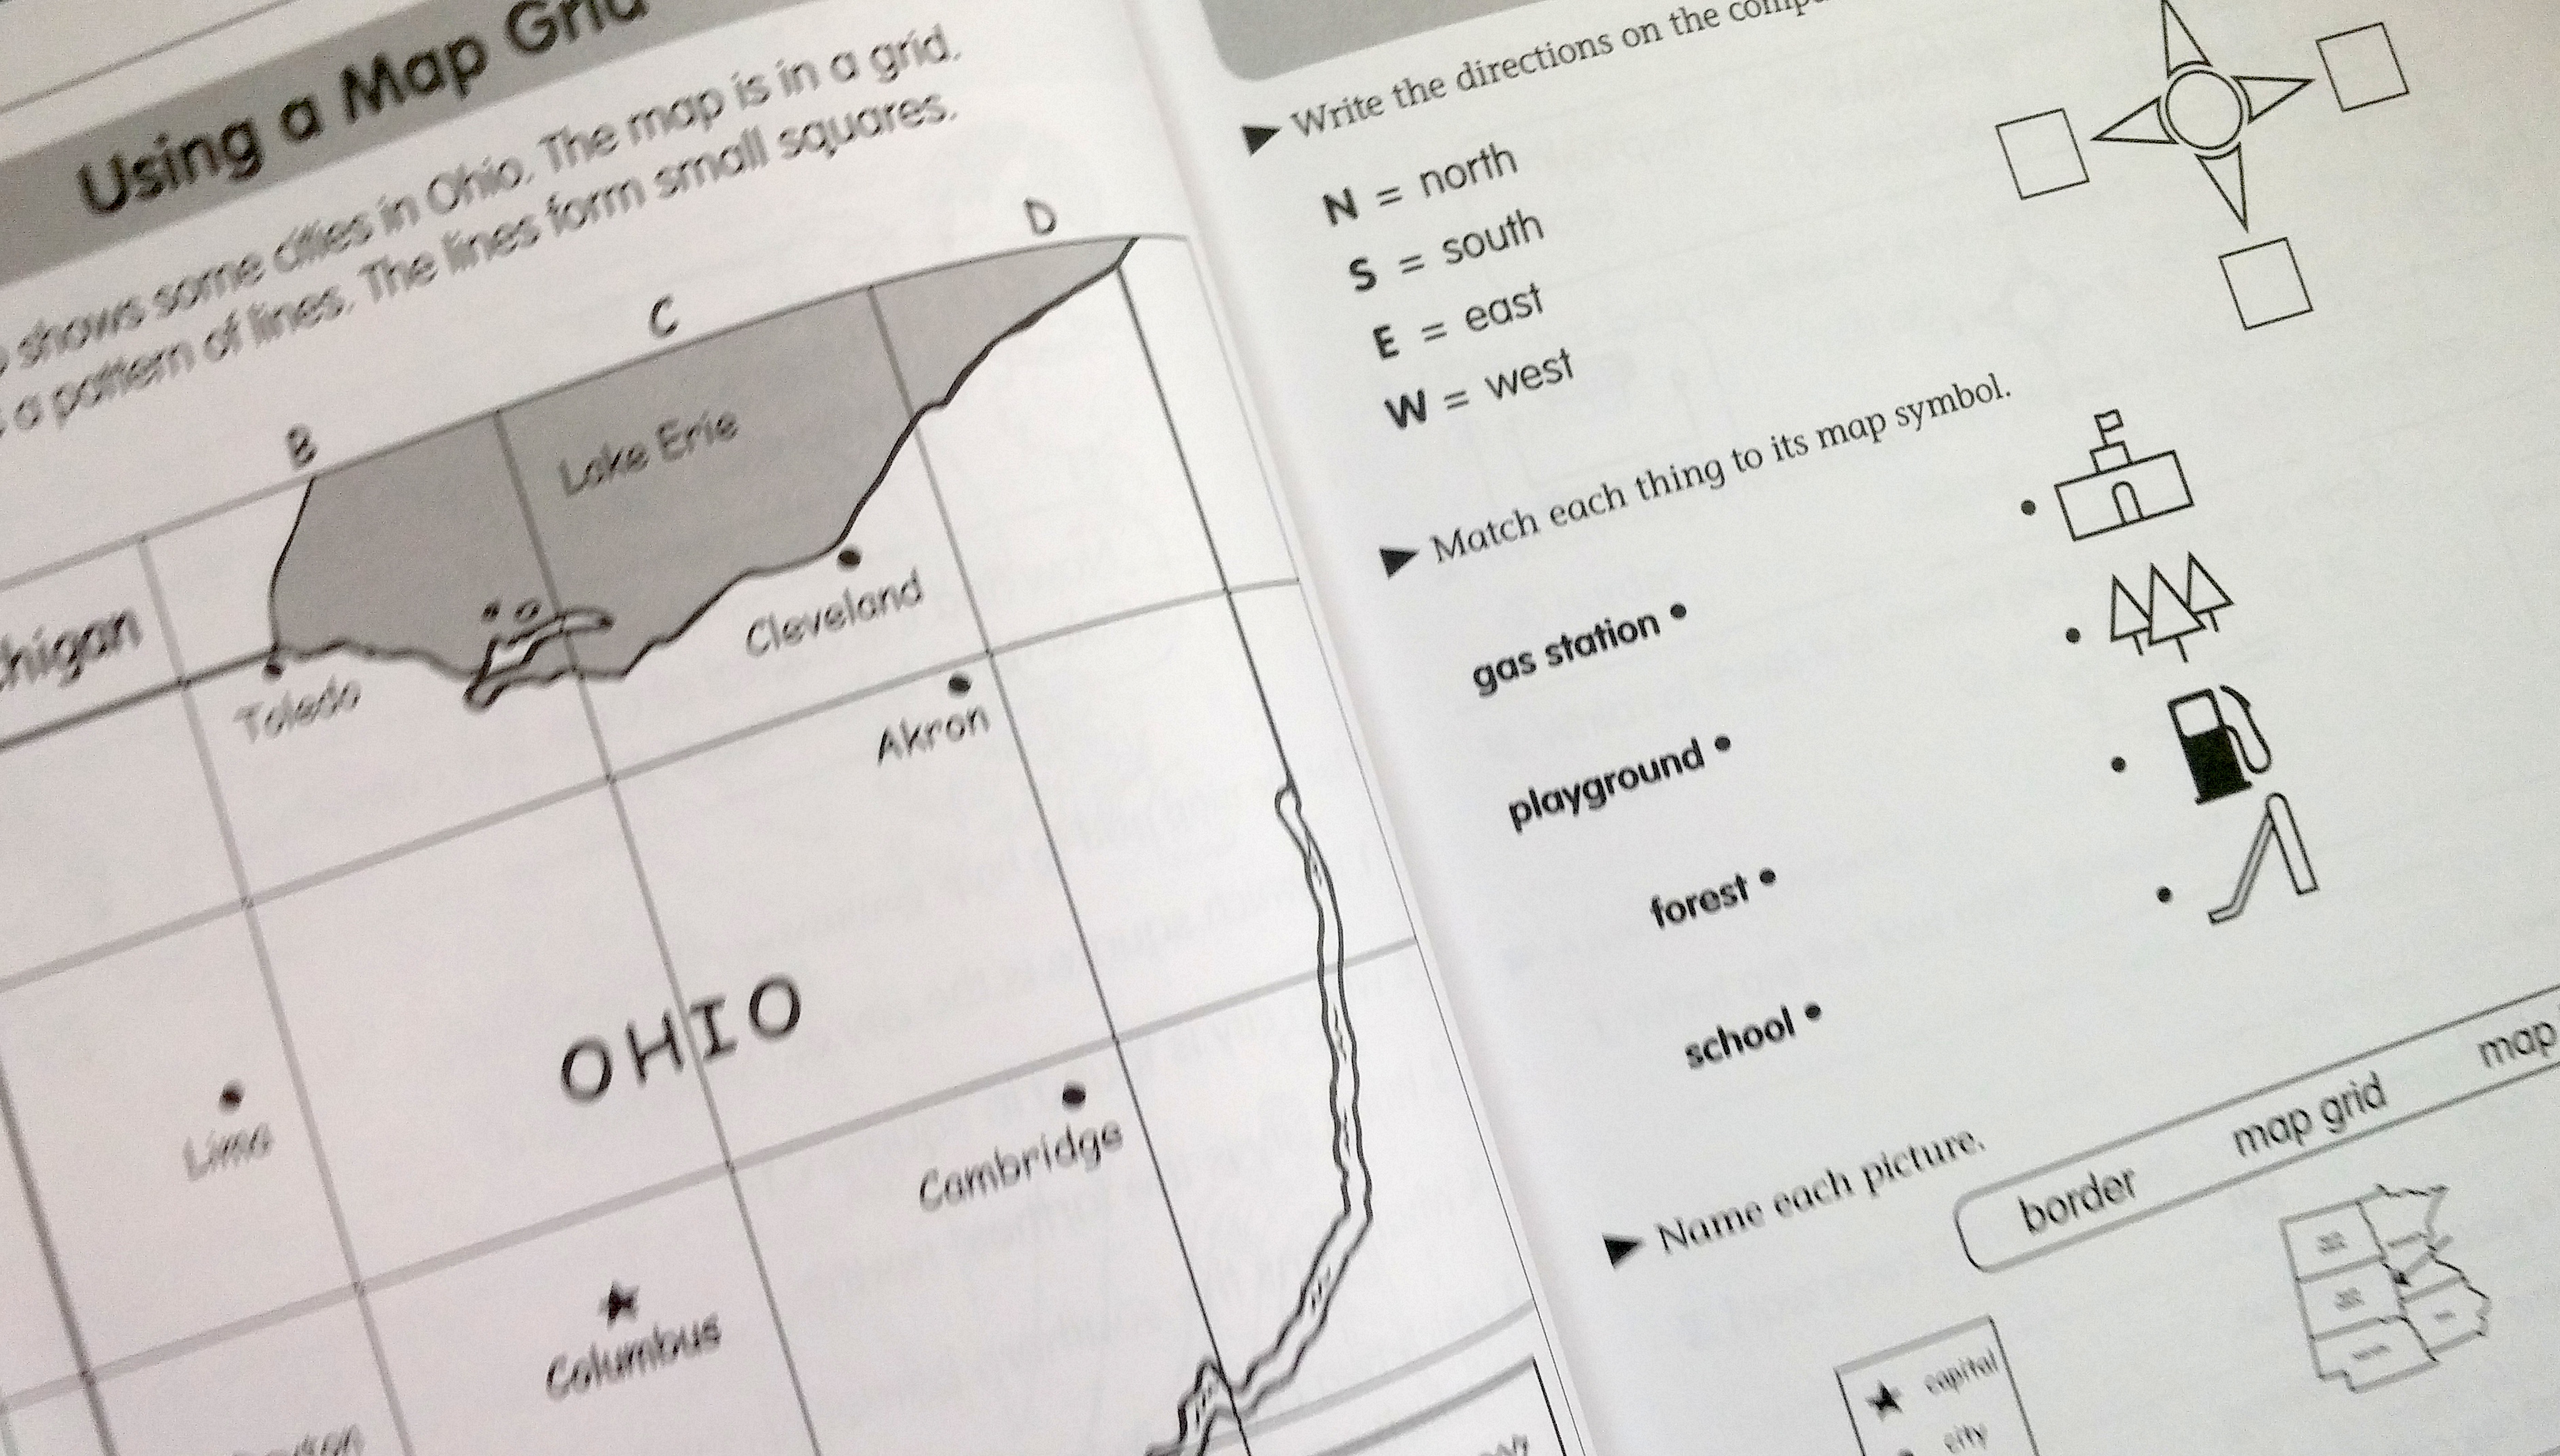
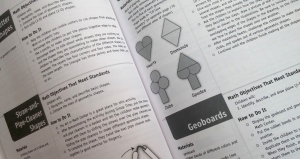
Geography: Beginning Geography, K-2 by Evan-Moor. This book is meant to be photocopied. Every lesson is a worksheet or a coloring page. I only copied some of the coloring pages. For the rest of them, I felt it was sufficient to have my kids point at the right answers on the maps instead of drawing a line to them as the instructions called for. I don’t like wasting paper. Or dragging three kids to a copy store. 🙂

As nice as the book is, I don’t plan to reuse it during second grade. The subject matter is very basic, and my son picked up on it really quickly. It mainly covers how to read a map, the continents and oceans, all the basic landforms and bodies of water, and important geography vocabulary. Our geography lessons last maybe 5 minutes. He does learn a lot from the book, but it just doesn’t seem like he’ll need a refresher next year. I like having the book on-hand, but again, you could probably find a lot of this same material online if you’d rather.
Language Arts: First Language Lessons for the Well-Trained Mind: Level 1 by Jessie Wise, and Handwriting Without Tears
 by Jan Olsen. I’ve been told I fall under the category of “Grammar Police” by many a friend. That may be why I enjoy First Language Lessons so much – it is all about grammar. Initially, I thought first grade seemed a bit soon to be starting grammar lessons. Once we started doing them though, I could see how easy the concepts were for my son. I wish it had been broken down so simply for me as a kid.
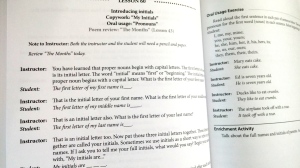
These lessons are very short, and feel kind of like reading through a play. In my planner I have us covering three lessons each week, but they’re so quick that we usually do all three at once. And it still takes less than 20 minutes. Amazing! I have already bought Level 2 for next year. 🙂
As I mentioned earlier, one area where my boys are lacking a little is in their fine motor skills. I’m sure eventually I can persuade them to care about making their handwriting legible. Handwriting Without Tears has certainly helped a lot in my quest. I bought each of the boys the workbook for their grade level (they have printing for Pre-K through 2nd, and cursive for 3rd and 4th). They are slowly but surely working their way through.

I don’t really have HWT worked into our lesson plans. Since sitting down and practicing letters is not their favorite thing to do, I shoot for having them do a couple pages a week as they seem up for it. There is also a Handwriting Without Tears Teacher’s Guide for each level, but we have gotten along fine without one; the workbook pages are pretty self-explanatory. I do have friends that like the Teacher’s Guides, so it’s something to check out if you are focusing more seriously on handwriting than we are.
Side note: If you’re curious about the cost of homeschooling, I spent $93.76 for all these books (all bought either new or in good used condition on Amazon). Most of them will cover a lot more than one year of schooling, and all of them can/will be used again on all my kids. Many school districts will reimburse you for the cost of your books. Plus, when you’re done with them you can sell them. In my opinion, it’s really not that much for a few years of good education.
Second Grade
Remember how I like to plan things? Well, we haven’t hit second grade with our kids yet, but I already have the year mapped out. 🙂 Here’s what we’ll be using:
Science: Building Foundations of Scientific Understanding: A Science Curriculum for K-2 by Bernard Nebel. Yep, some as first grade. We’ll go into more detail this time around.
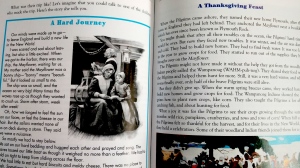
History: The Story of the World: Volume 2: The Middle Ages by Susan Wise Bauer. Love it for all the same reasons I loved the first volume.
Art: Discovering Great Artists: Hands-On Art for Children in the Styles of the Great Masters by MaryAnn Kohl and Kim Solga. Since we only covered 40 of the 110 projects in first grade, we’re going to keep working our way through the book in second grade.
Math: I have chosen to not use a book for this subject. We’ll be using resources like IXL to determine what math concepts need to be covered, and supplementing those lessons with activities from sites like Pinterest.
Geography/Social Studies: Since geography basics were covered so well in first grade, this year we are going to focus on learning about each of the continents in detail. We’ll use both online resources and books from the library to learn about the different cultures, languages, politics, wildlife, and terrain in each area.
Language Arts: First Language Lessons for the Well-Trained Mind: Level 2 by Jessie Wise. More excellent lessons in grammar. Love it!
—————————————————————
There it is. Three whole years of schooling packed into a single blog post. The individual lessons take less than 30 minutes a day. Some days we don’t do anything. Other times the kids feel ambitious (like when they want the rest of the week off for holidays or vacation), and we cram a week of lessons into a couple hours of school time in one day. I know there are many approaches to homeschooling, and I’m sure ours will change a bit over time. My main objective was to show that homeschooling does not have to be an all day affair, nor does it need to be part of a routine. We do our schoolwork when it works for us, which changes every day, and we do as much or as little as we want at a time. We still cover all the school-level requirements and then some.
What I love the most about this approach to homeschooling is that it frees us to do so many other things. I’m not worried about missing our school time, because it’s really easy to make up a 10 minute lesson some other time during the week. Personality-wise, I love that I have a plan and that my plan allows me to be flexible. Not everyone will feel the same way. But on the chance that we are kindred spirits, I hope this post has given you a good picture of how you can teach your child in just 30 minutes (or less!) a day.


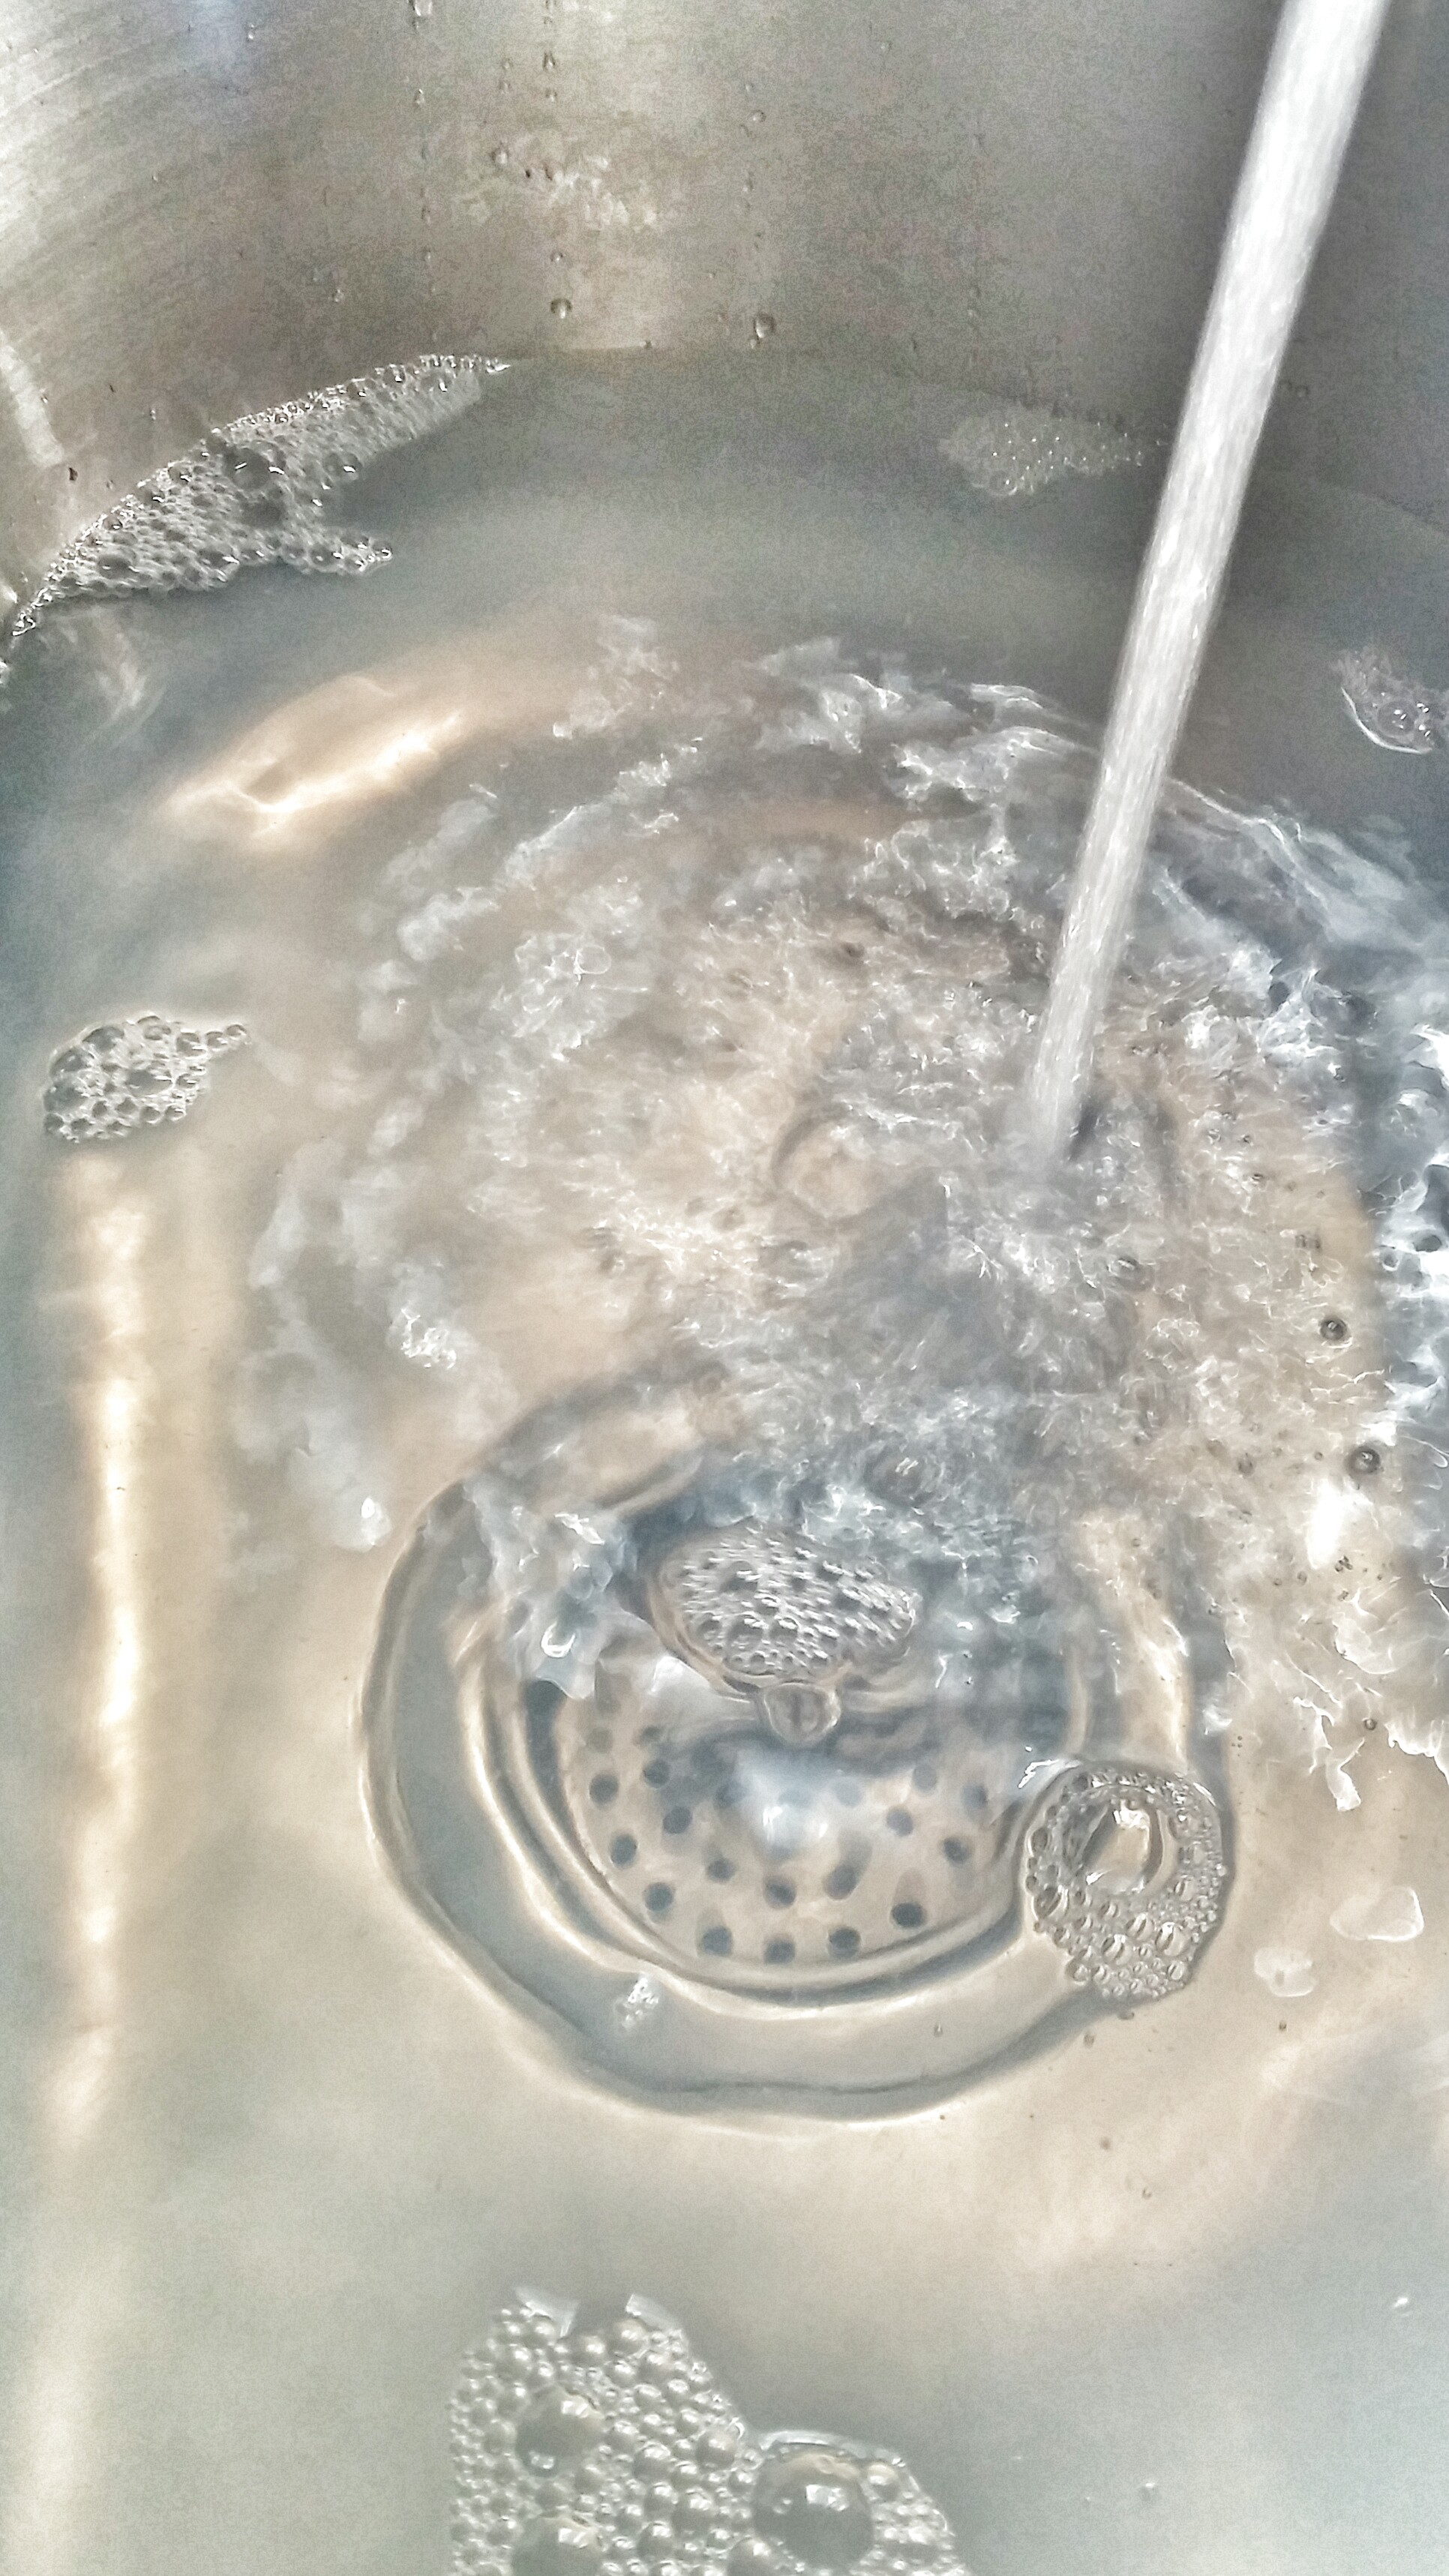
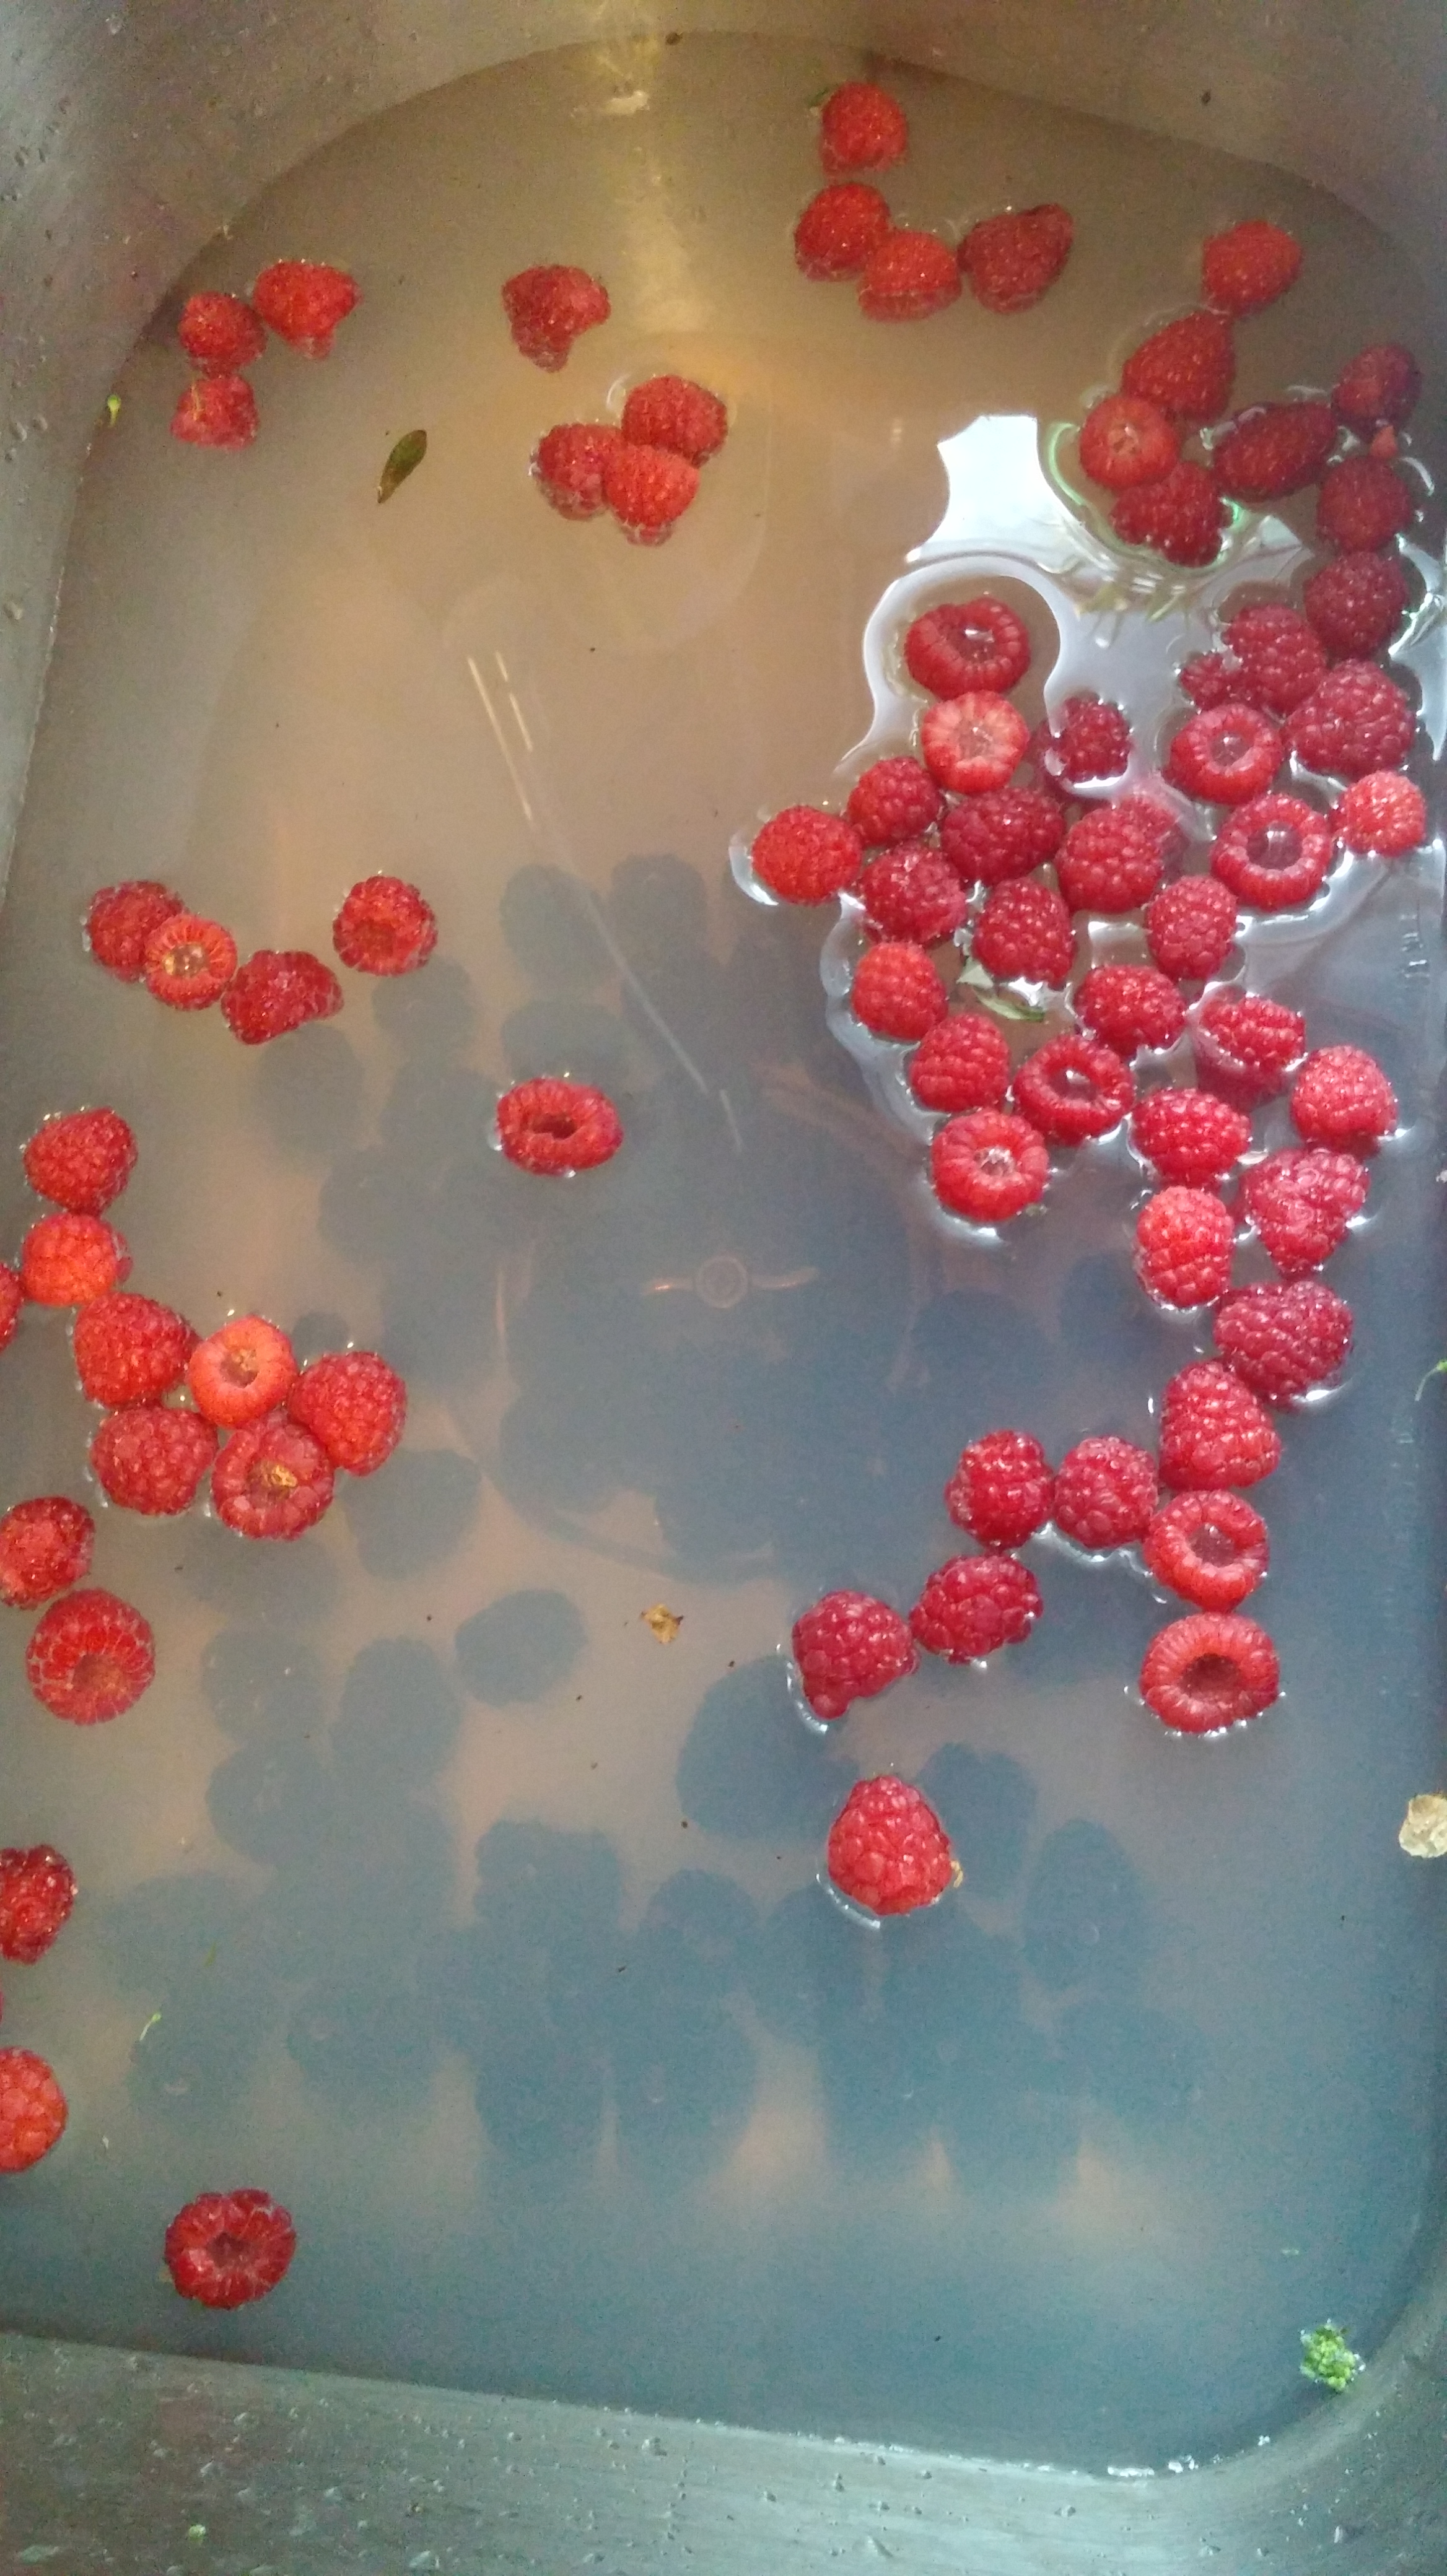
 Let your produce soak for 10-15 minutes. Give it a good stir about halfway through, so that anything floating at the top gets thoroughly cleaned.
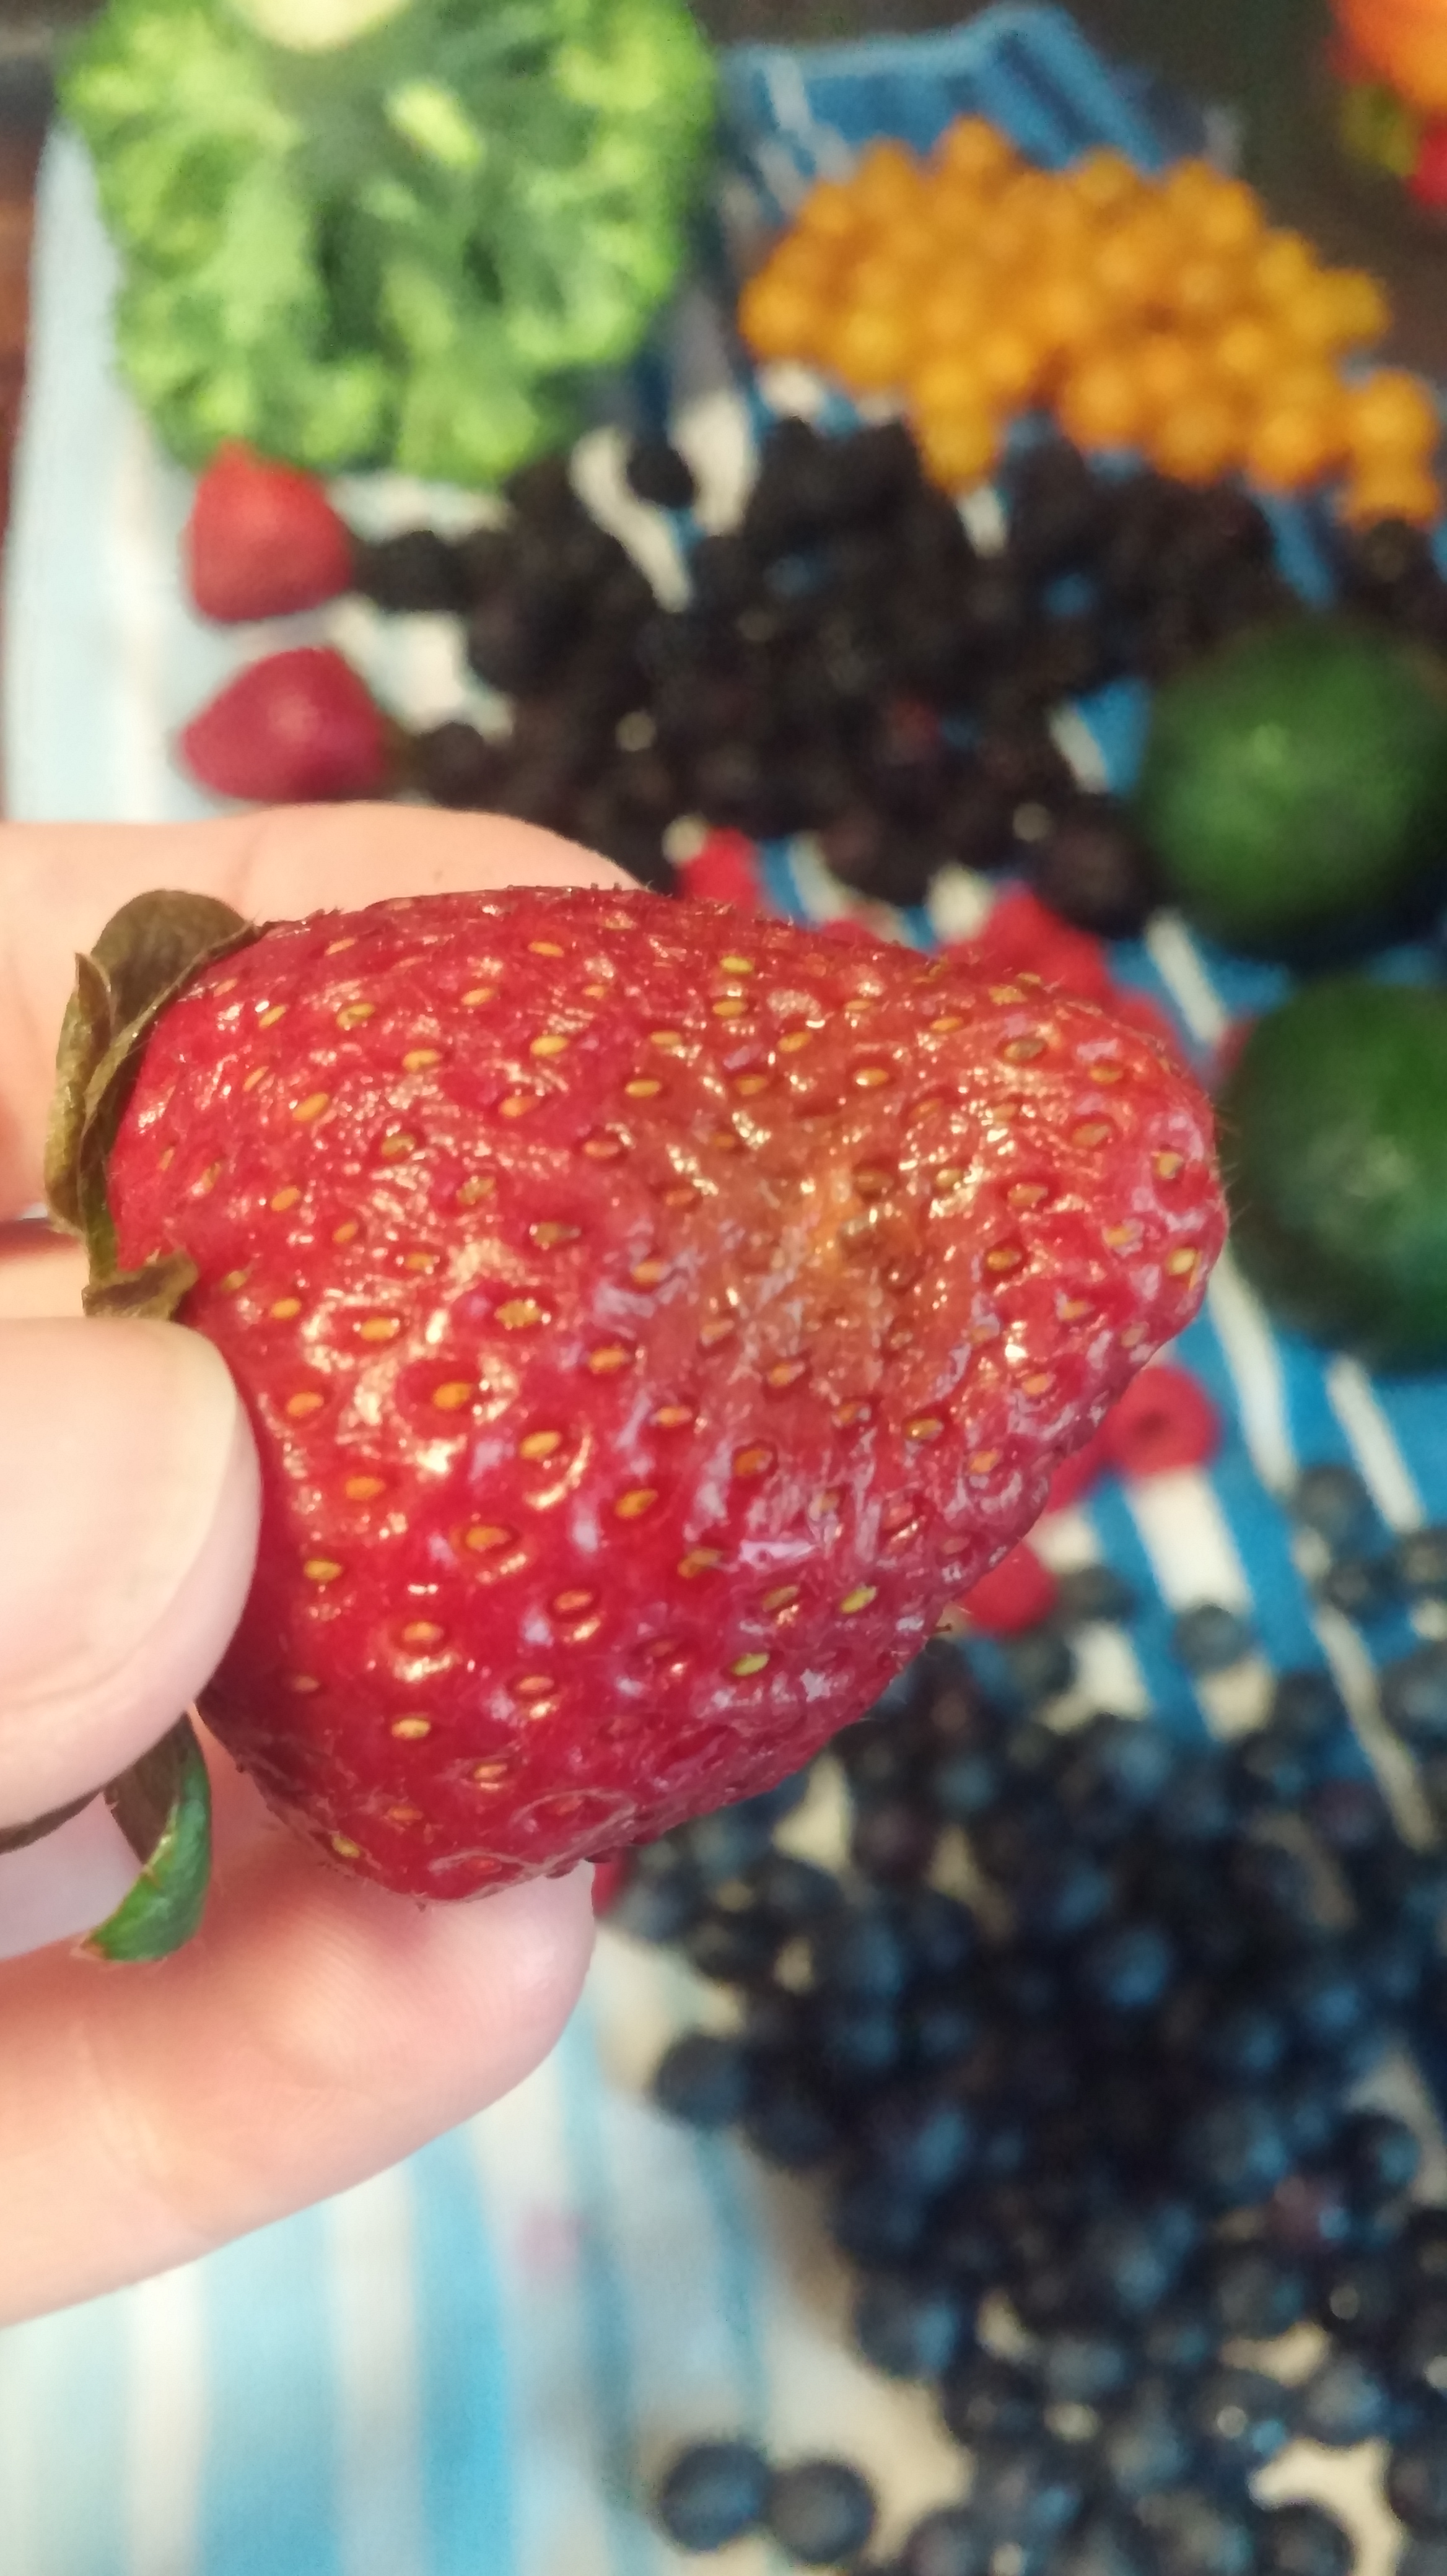
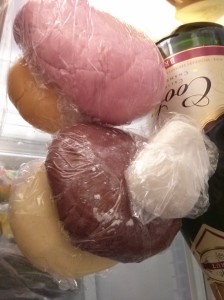
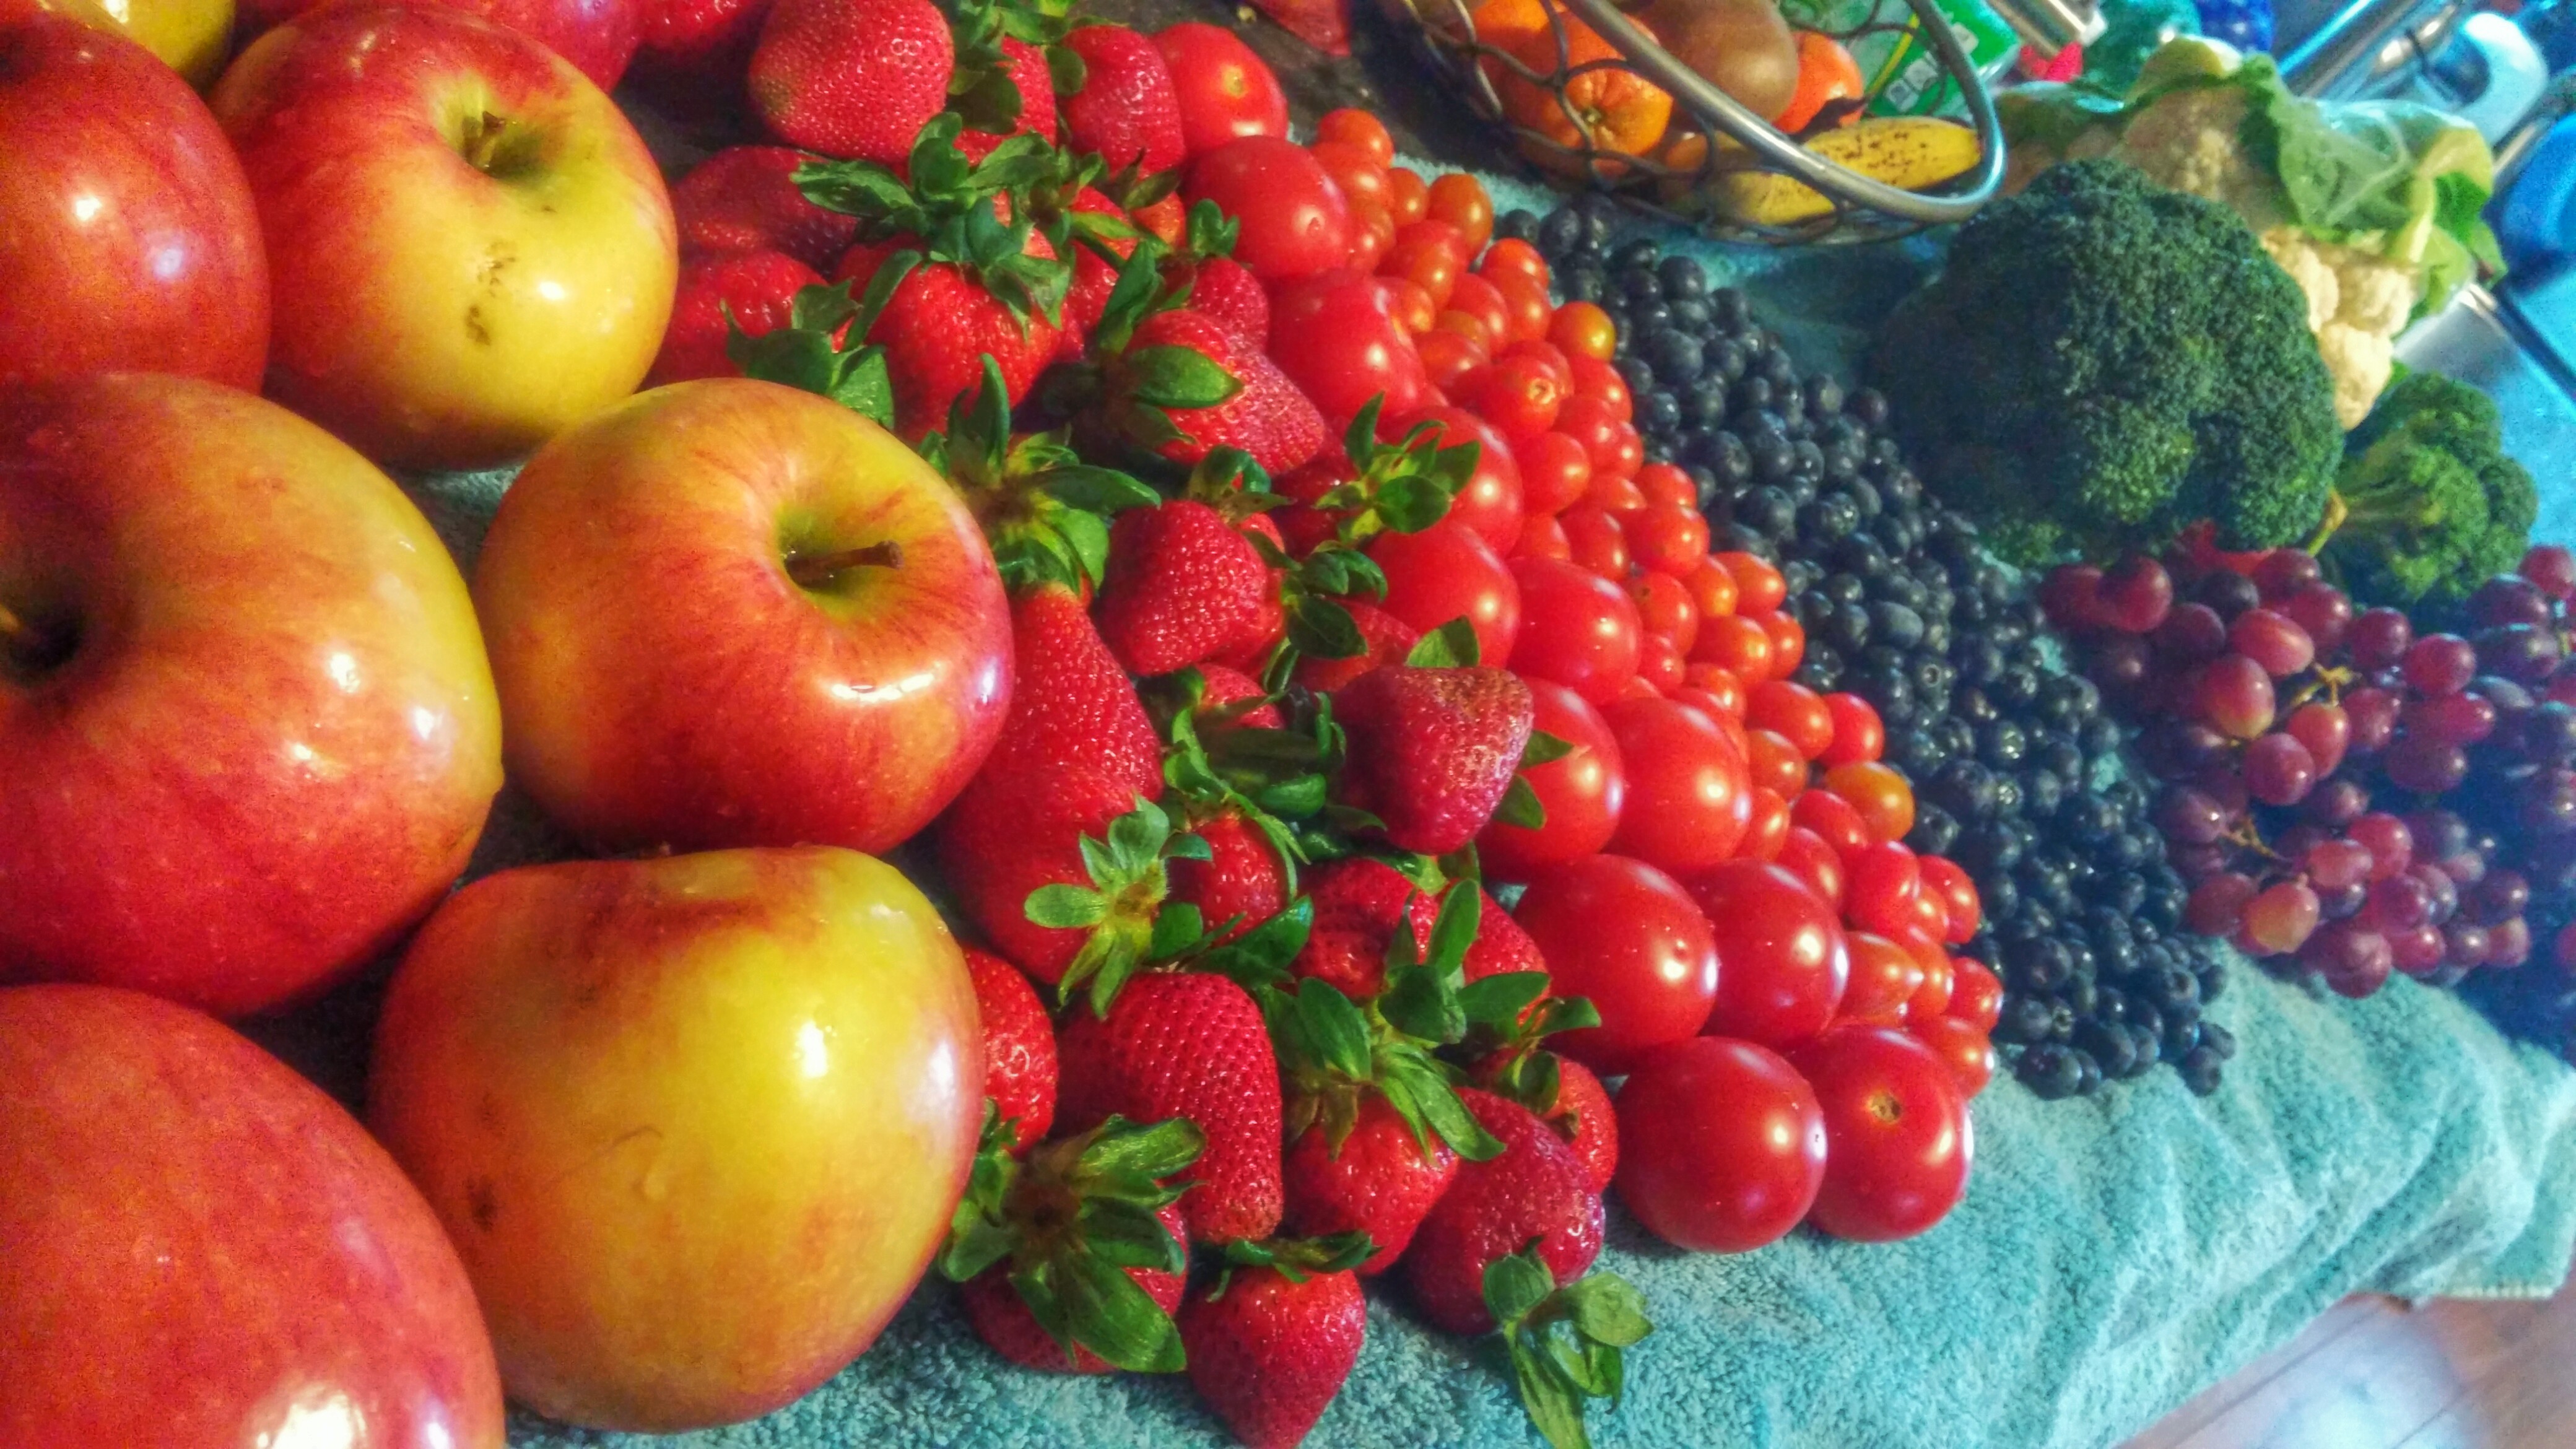
 I lay out a big beach towel on my counter, and leave all the clean produce there to air dry. This is what our typical weekly produce haul from Aldi looks like…though not usually this neatly laid out. 😉