You guys, I’m just going to say this up front: I LOOOOOOOOVE essential oils!! I’m currently working on another post to tell you all about it. 🙂
When I first encountered the idea of essential oils about four years ago I was fairly skeptical about some of the claims. Over the years I’ve done a lot of research, and I think I’ve weeded out the truths from the exaggerations. Based on what I’ve learned and experienced, I believe that oils are a very smart way to invest in your family’s health.
One of my favorite true claims is that you can use citrus essential oils to clean pesticides and bacteria off of produce.
Upon hearing this claim, the big question I had was HOW can citrus oil remove pesticides? The answer is monoterpenes. Specifically the monoterpene, d-limonene, which has the ability to dissolve petroleum oils among other things. Pesticides are petroleum based. Therefore, the d-limonene commonly found in citrus oils can remove pesticides from your produce. Lemon and orange oils have particularly high concentrations of d-limonene, which is why they’re my favorite ones to use for cleaning produce. If you’re interested, you can find more information in the World Health Organization’s fact sheet on d-limonene.
Now that you know the science behind how citrus essential oils remove pesticides, I’ll show you how to actually do it.
What you’ll need: citrus essential oils (lemon and orange are best), Dr. Bronner’s Castile Soap, and water.

First, close your drain and start filling your sink up with water. Temperature doesn’t really matter as far as cleaning goes, but I prefer not to freeze or burn my fingers when reaching in to stir or remove the produce – so I shoot for room temperature. 🙂
I use 7-10 drops of citrus oil when filling up my half-sink depending on how much produce I’m washing; you could use 15-20 if you’re doing a full sink with a very large amount of produce. Keep in mind, essential oils are very potent; a little goes a long way.

If you look closely you can see the drops of lemon oil floating in the areas I circled.
Add in about a teaspoon (or two for a full sink) of Dr. Bronner’s Castile Soap.
The Castile soap suspends the essential oil throughout the water, so it is no longer just sitting on the water’s surface.
A quick word on why we need the soap. Castile soap is a type of soap made of only vegetable oils, not animal fats (it originated in the Castile region of Spain, thus the name). I prefer Castile soap because it is all natural, dye-free, and safe if ingested. Yes, you could eat it. It’s just water, a bunch of vegetable oils, vitamin E, and citric acid. I feel good about washing the things I will be eating with something that would be okay to ingest, if I so chose to ingest it. 🙂
Back to science. Basically, we need the Castile soap to act as the middle man between the citrus oil and water. Remember in elementary school when we learned how oil is hydrophobic and hates water? That’s where soap comes in. Soap is a surfactant (fancy scientific term), which means it has both hydrophobic and hydrophilic ends. The simplest way to think of it is soap likes to hold hands with both oils and water. Oil and water refuse to hold hands. The only way they can all stay together is with soap in the middle. If you need to visualize it, here’s an embarrassing representation of oil, soap, and water holding hands that I made..
0—–CITRUS OIL—–00—–CASTILE SOAP—–00—–WATER—–0
This is same principle behind how washing your hands with soap removes grease and dirt and germs.
So in the produce bath, the soap grabs onto the pooled up oils floating on the water’s surface, and suspends them throughout the sink to get all your produce thoroughly clean. Without the soap, only the parts of your produce in direct contact with the water’s surface will get the benefits of contact with your essential oils – and that’s not good enough.
I like to add in the soap and oils while the sink is still filling, because it’s an easy way to get everything mixed together.
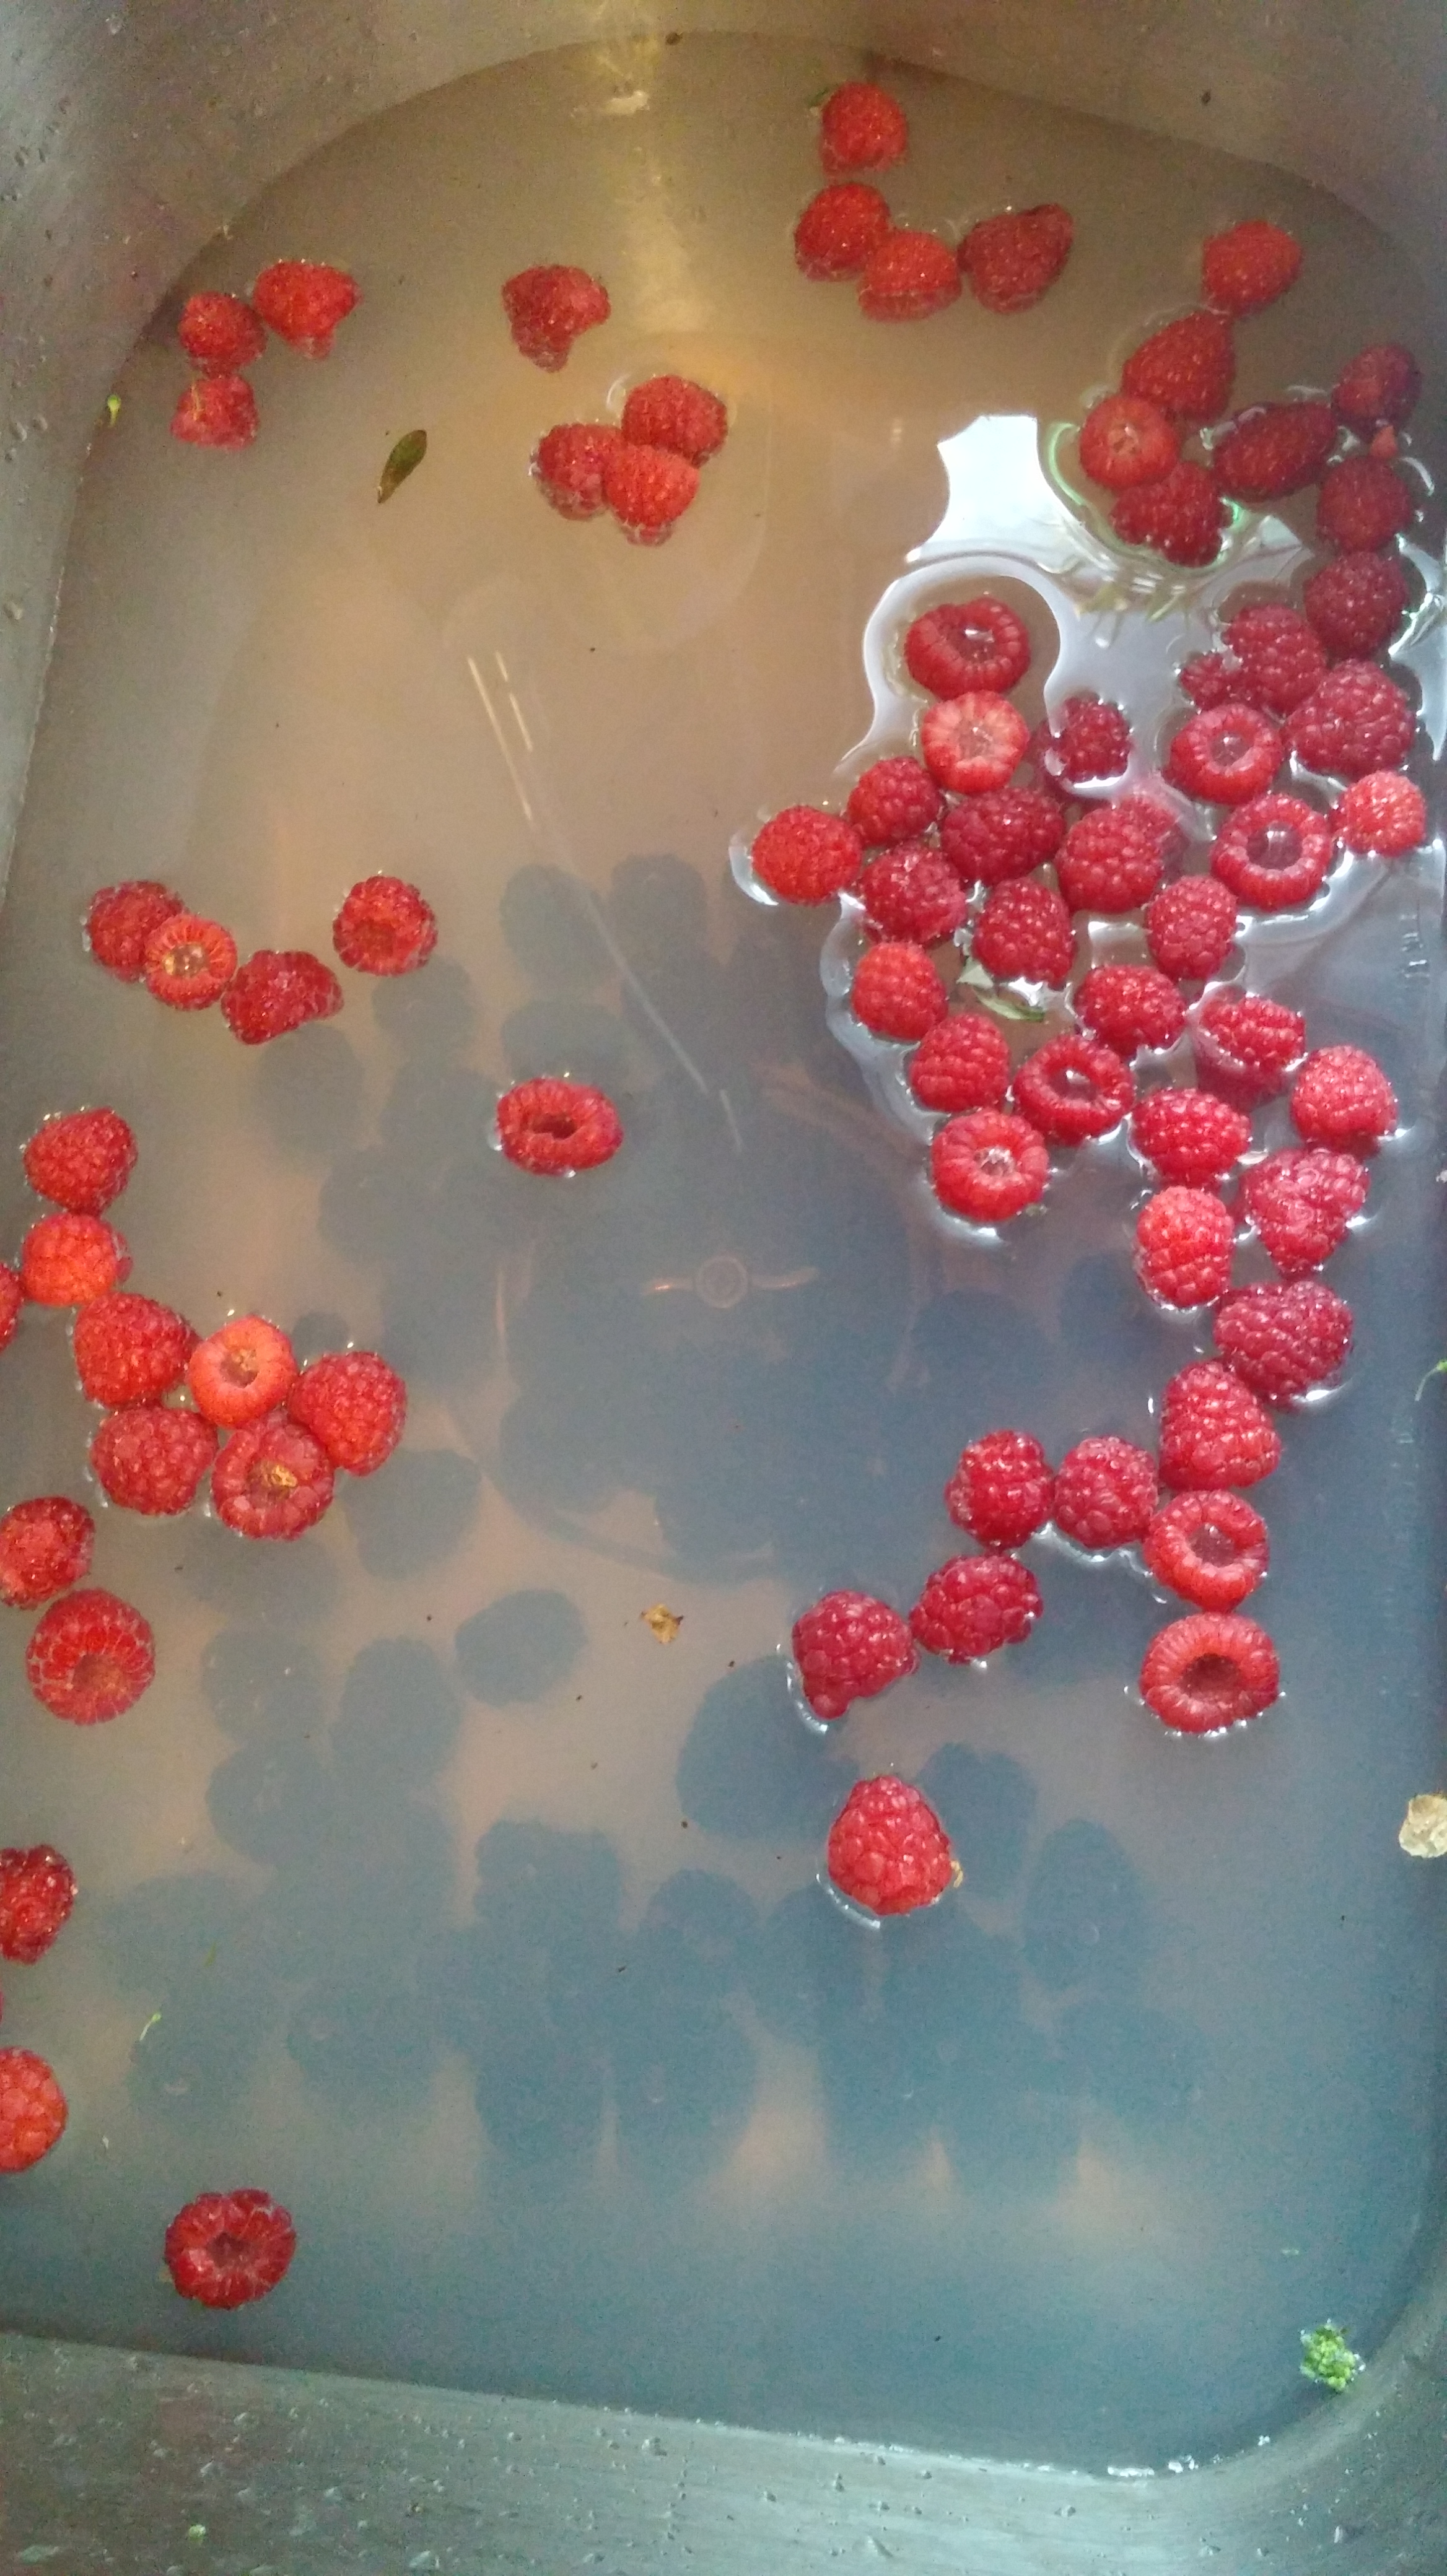
Once your sink is a little more than half full, you can turn off the water and start putting in produce. I like to save the softer berries (raspberries and blackberries) as well as larger items (like melons and broccoli) for last. Everything else goes in the sink together.
 Let your produce soak for 10-15 minutes. Give it a good stir about halfway through, so that anything floating at the top gets thoroughly cleaned.
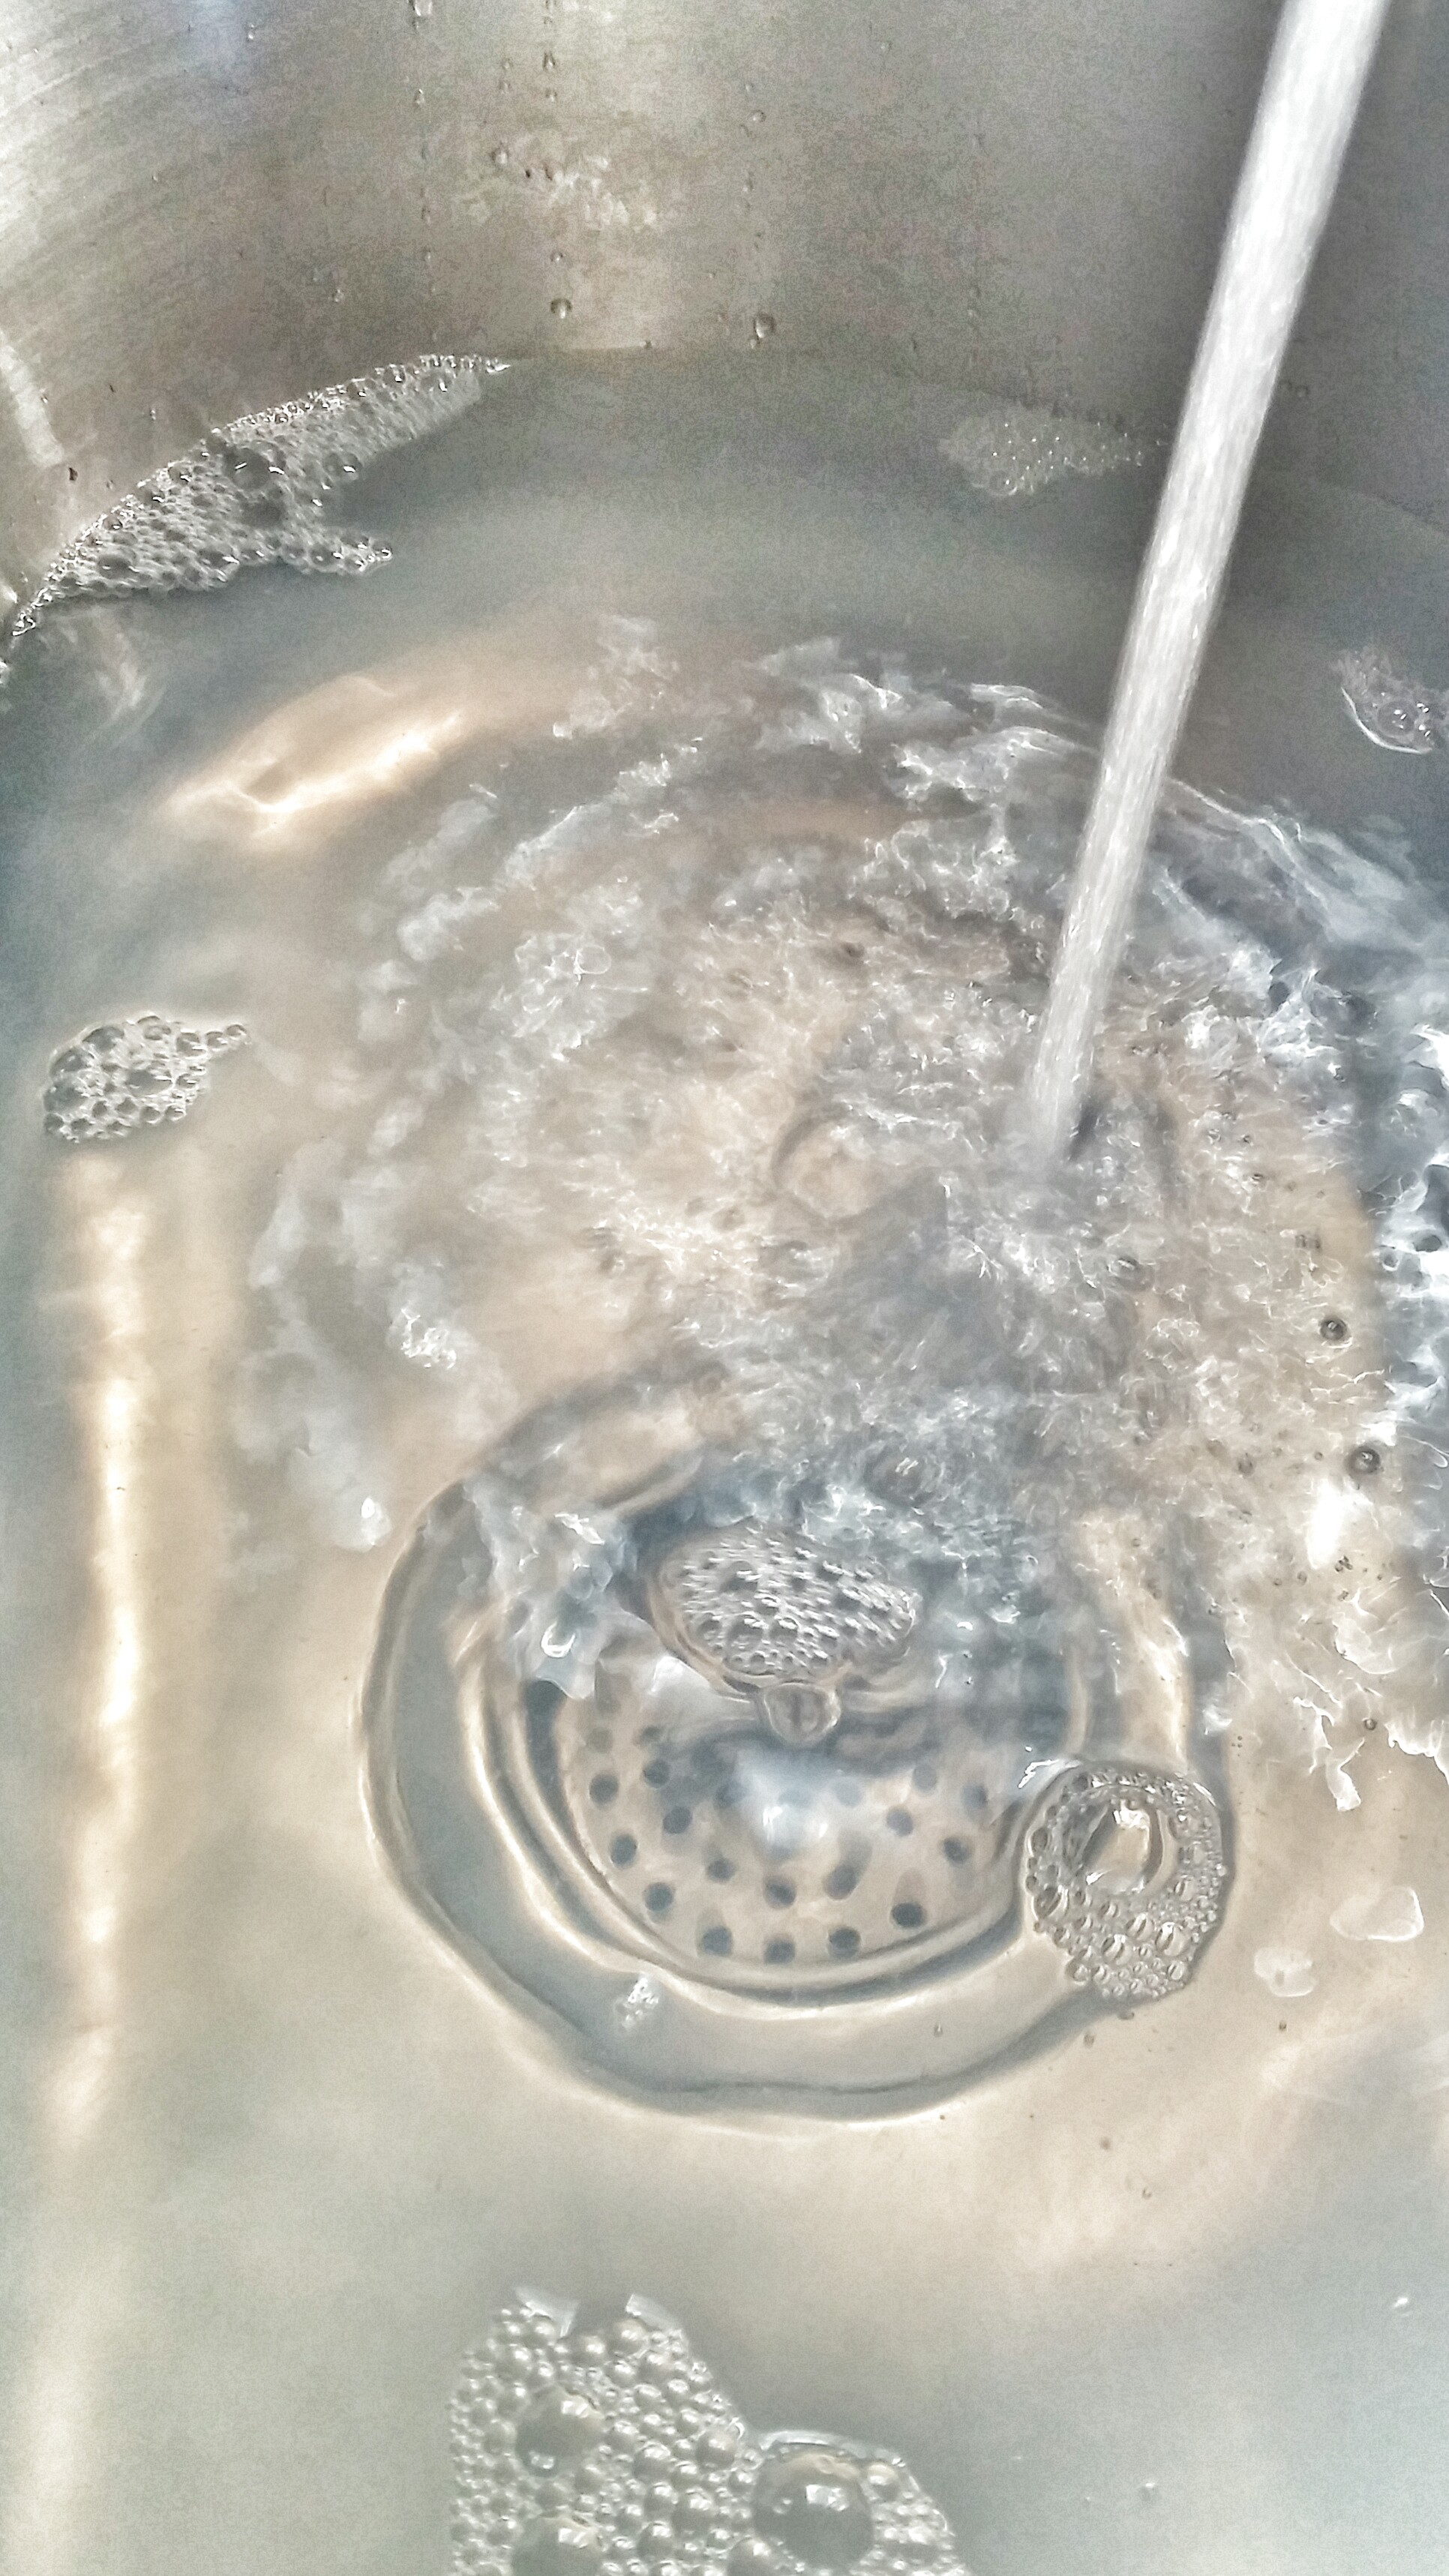
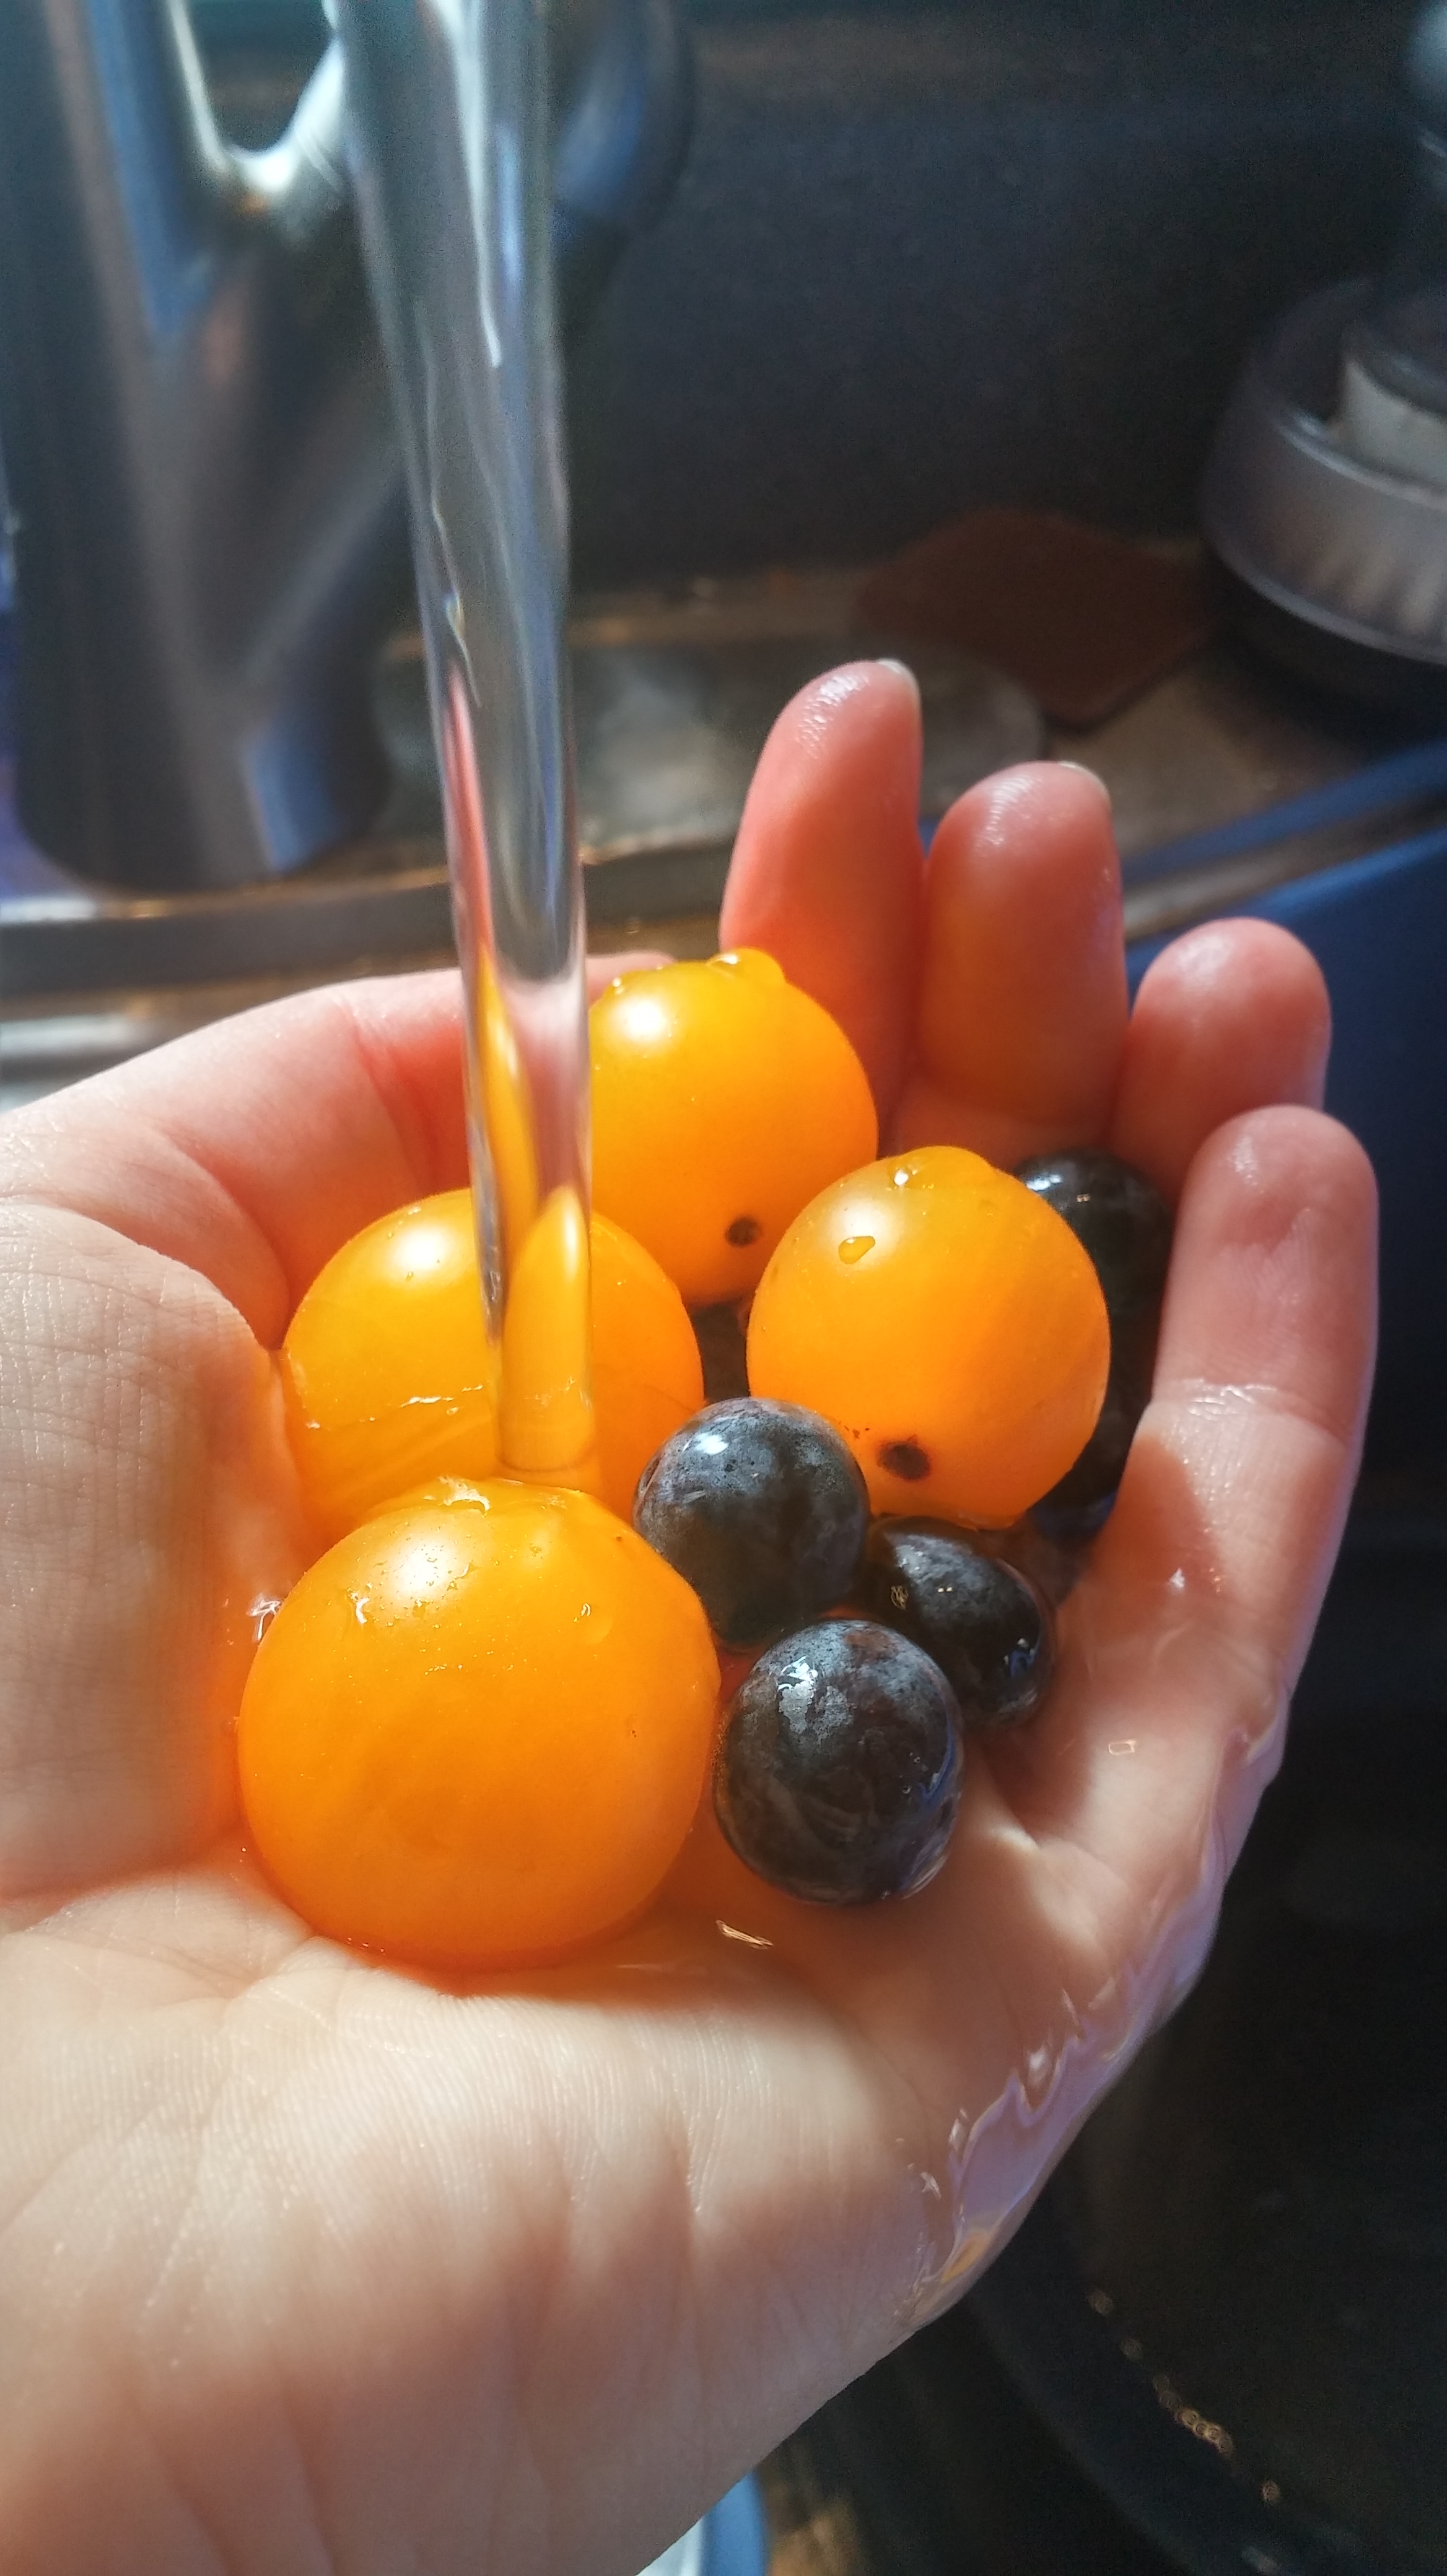
Now it’s time to rinse! The water you’re taking your produce out of is now full of soap, petroleum pesticides, dirt, and bacteria. So always remember to put your produce under some clean running water to rinse away all that nasty stuff.
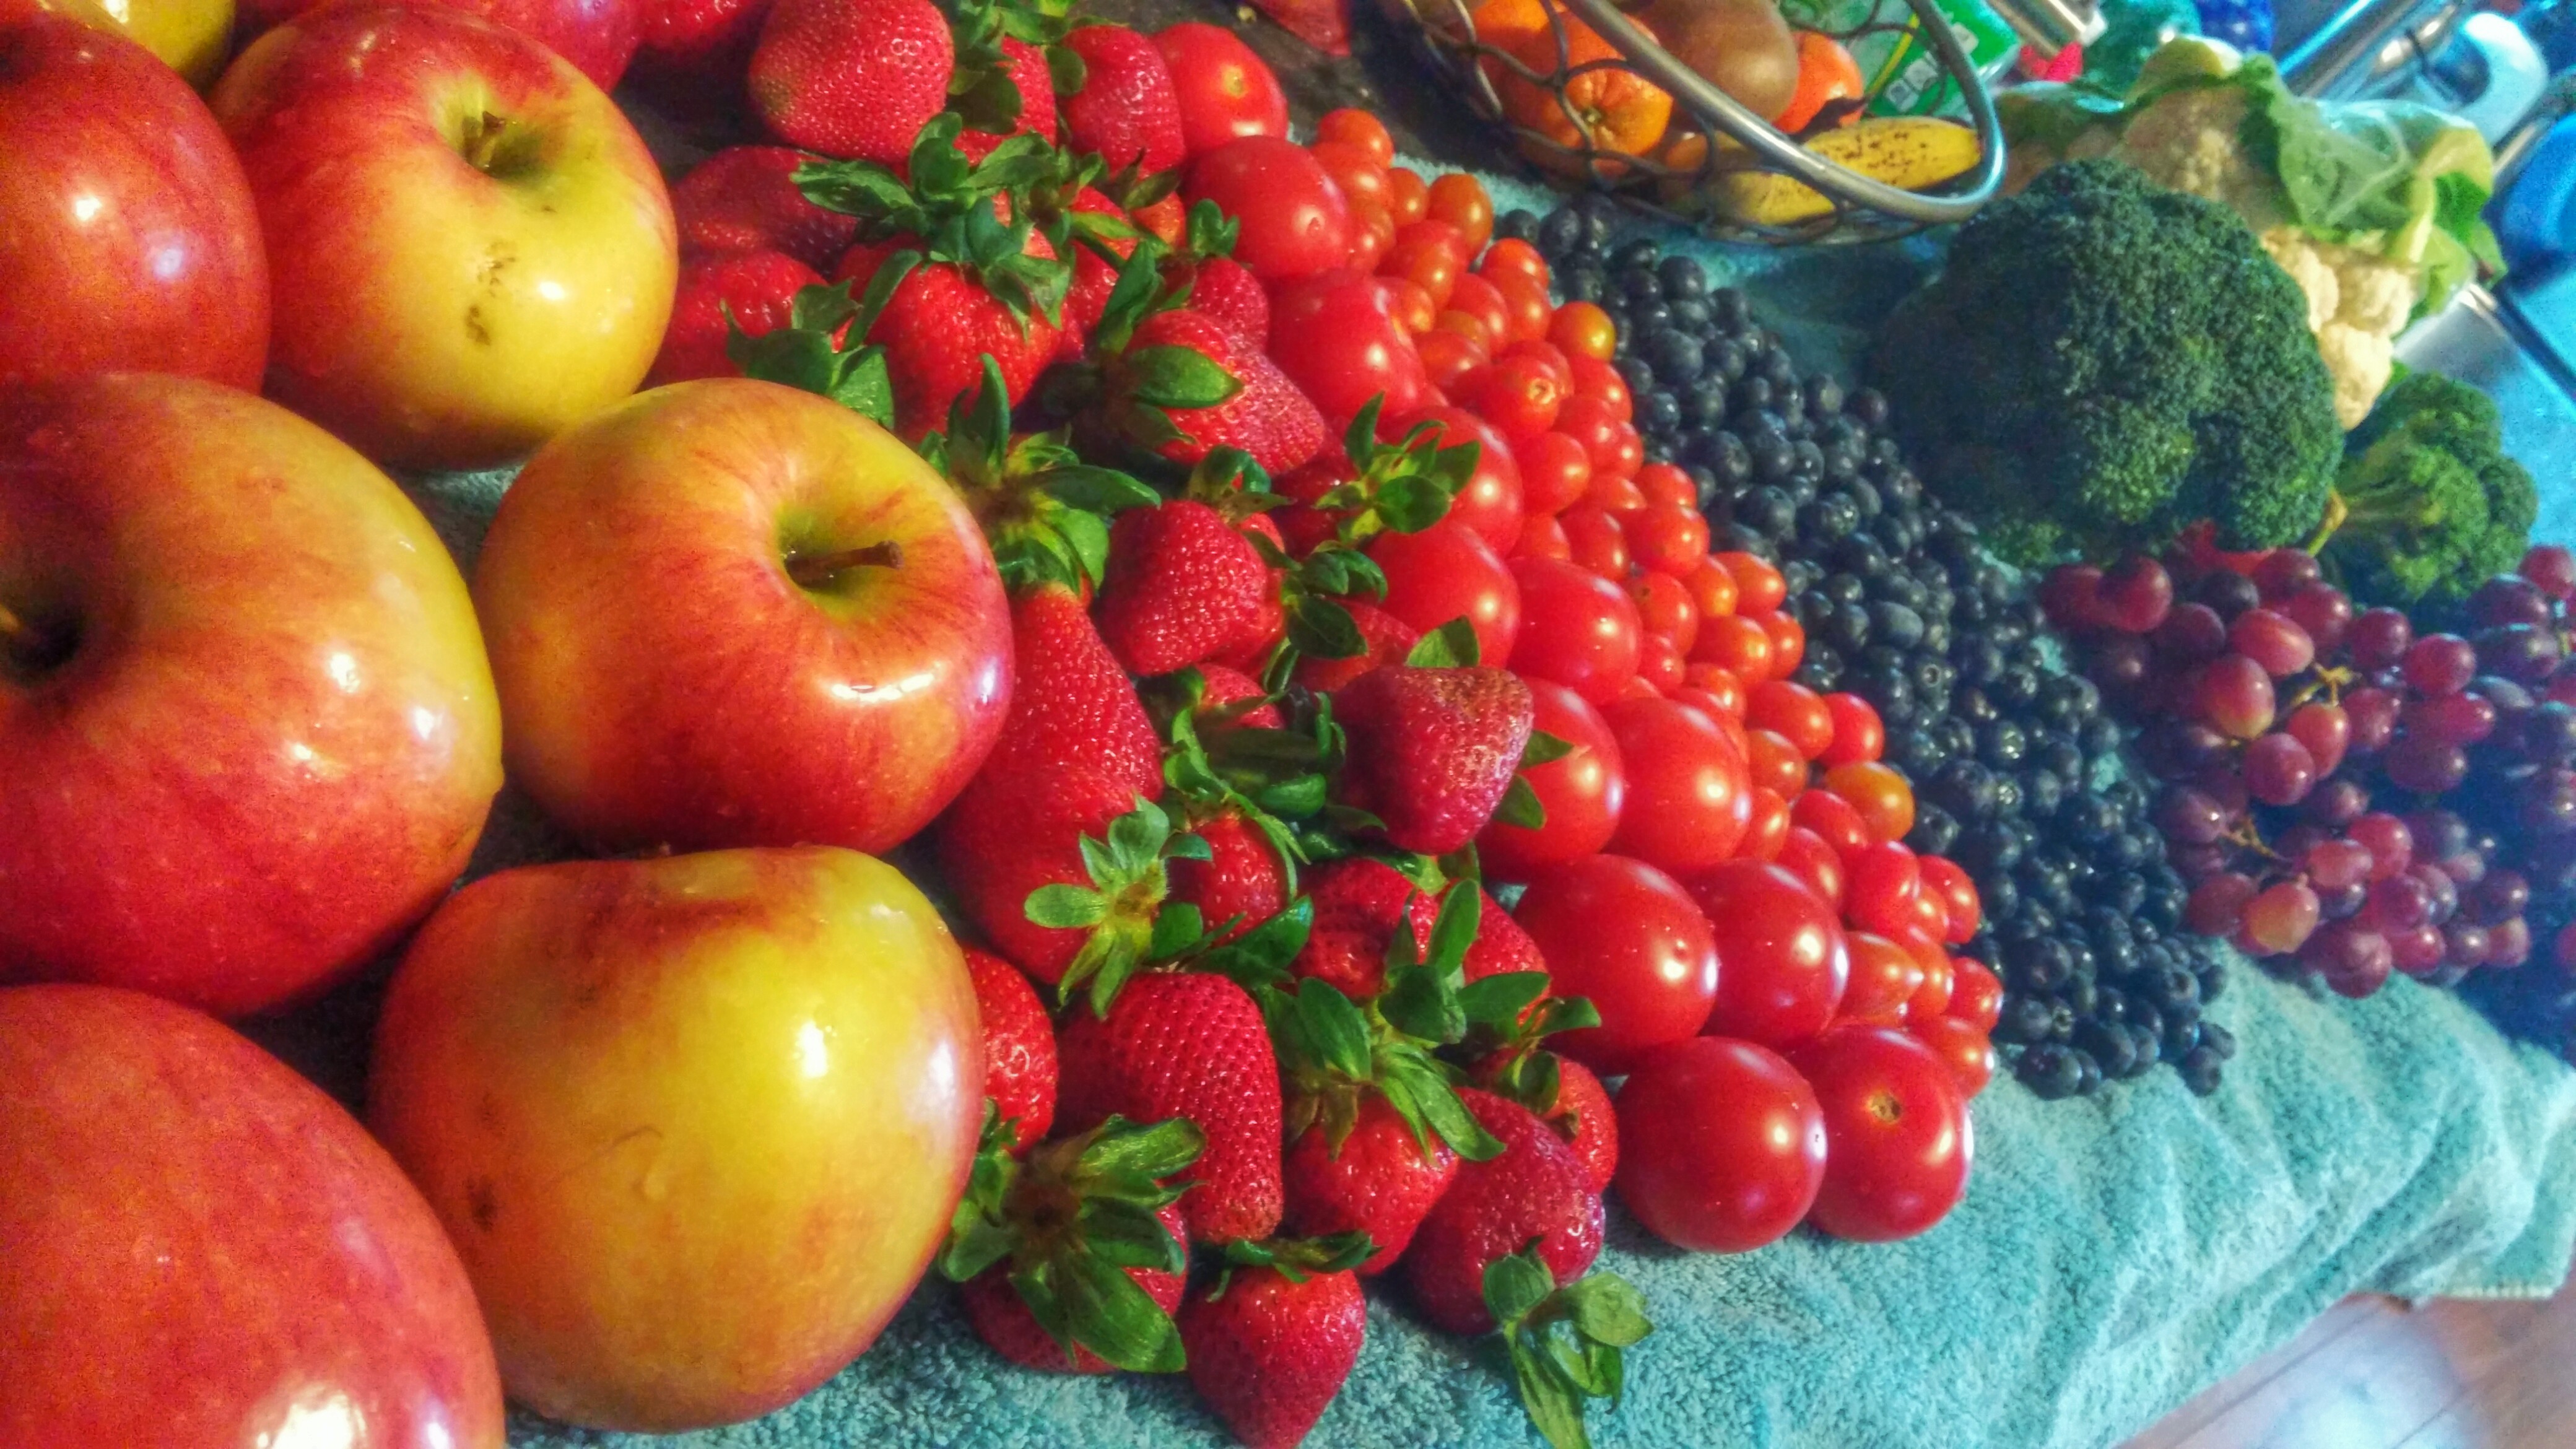
 I lay out a big beach towel on my counter, and leave all the clean produce there to air dry. This is what our typical weekly produce haul from Aldi looks like…though not usually this neatly laid out. 😉

After I do the main load of produce, I soak the delicate and large items for about 10 minutes. Putting melons and squashes in the produce bath may seem odd, but it gets rid of any Salmonella that may be lurking on the rind waiting to get in when you cut it open. Here’s a link to a study that showed essential oils to be highly effective at removing Salmonella from industrial equipment. Just be sure to get every side of the melons in the bath water. And again, don’t forget to rinse!

Make sure the whole head of the broccoli and cauliflower is immersed in the bath for at least 5 minutes. This can be tricky because they want to float on their sides.
Wash delicate produce, like raspberries, separately to avoid squishing them.

Yes, I even soak my bananas, because I have an irrational fear of banana spiders hatching out of them…. I have confidence the oils will kill their eggs, and/or they’ll drown. 🙂
I think the before and after pictures of the sink water paints a pretty good picture of just how much junk is coming off in the produce bath. It gets me every time. Yuck…

BEFORE

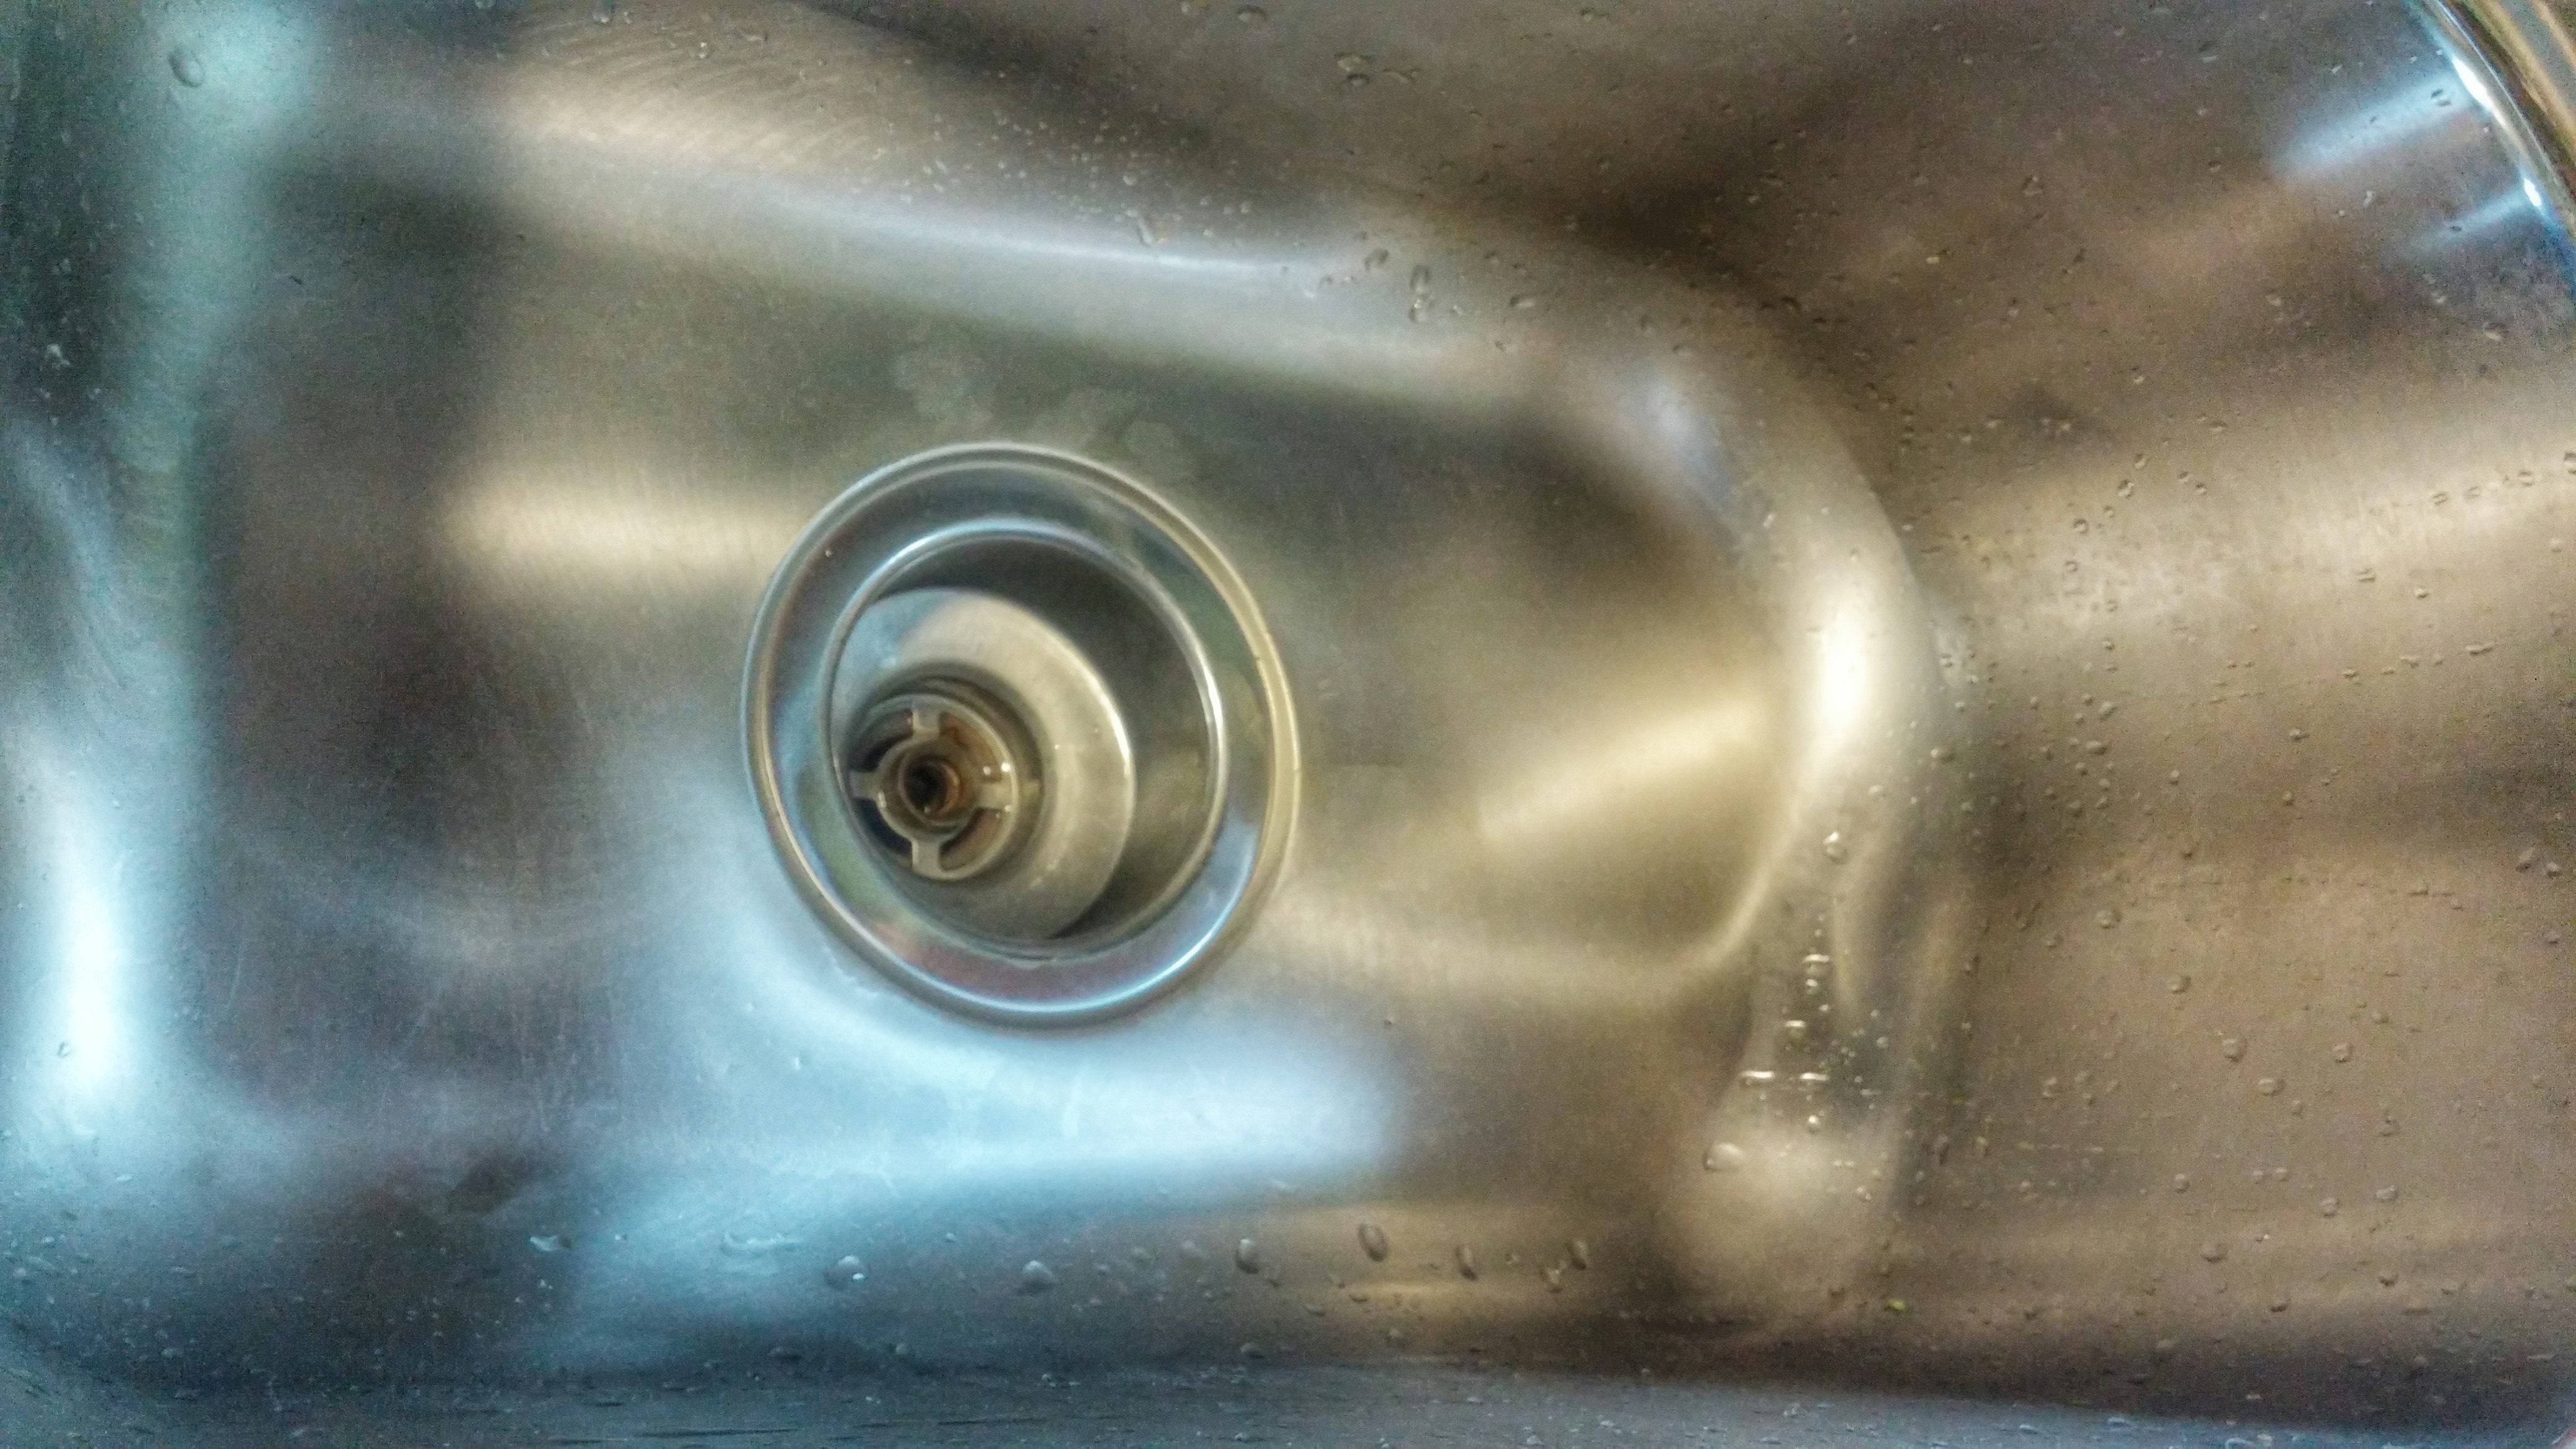
AFTER
There’s an added bonus. Washing your produce like this automatically cleans your sink and drain! Just let all that dirty water out and give it a little rinse with the faucet. You’re left with a shiny, citrus-fresh basin. Seriously, it smells so good!
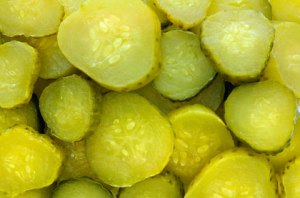
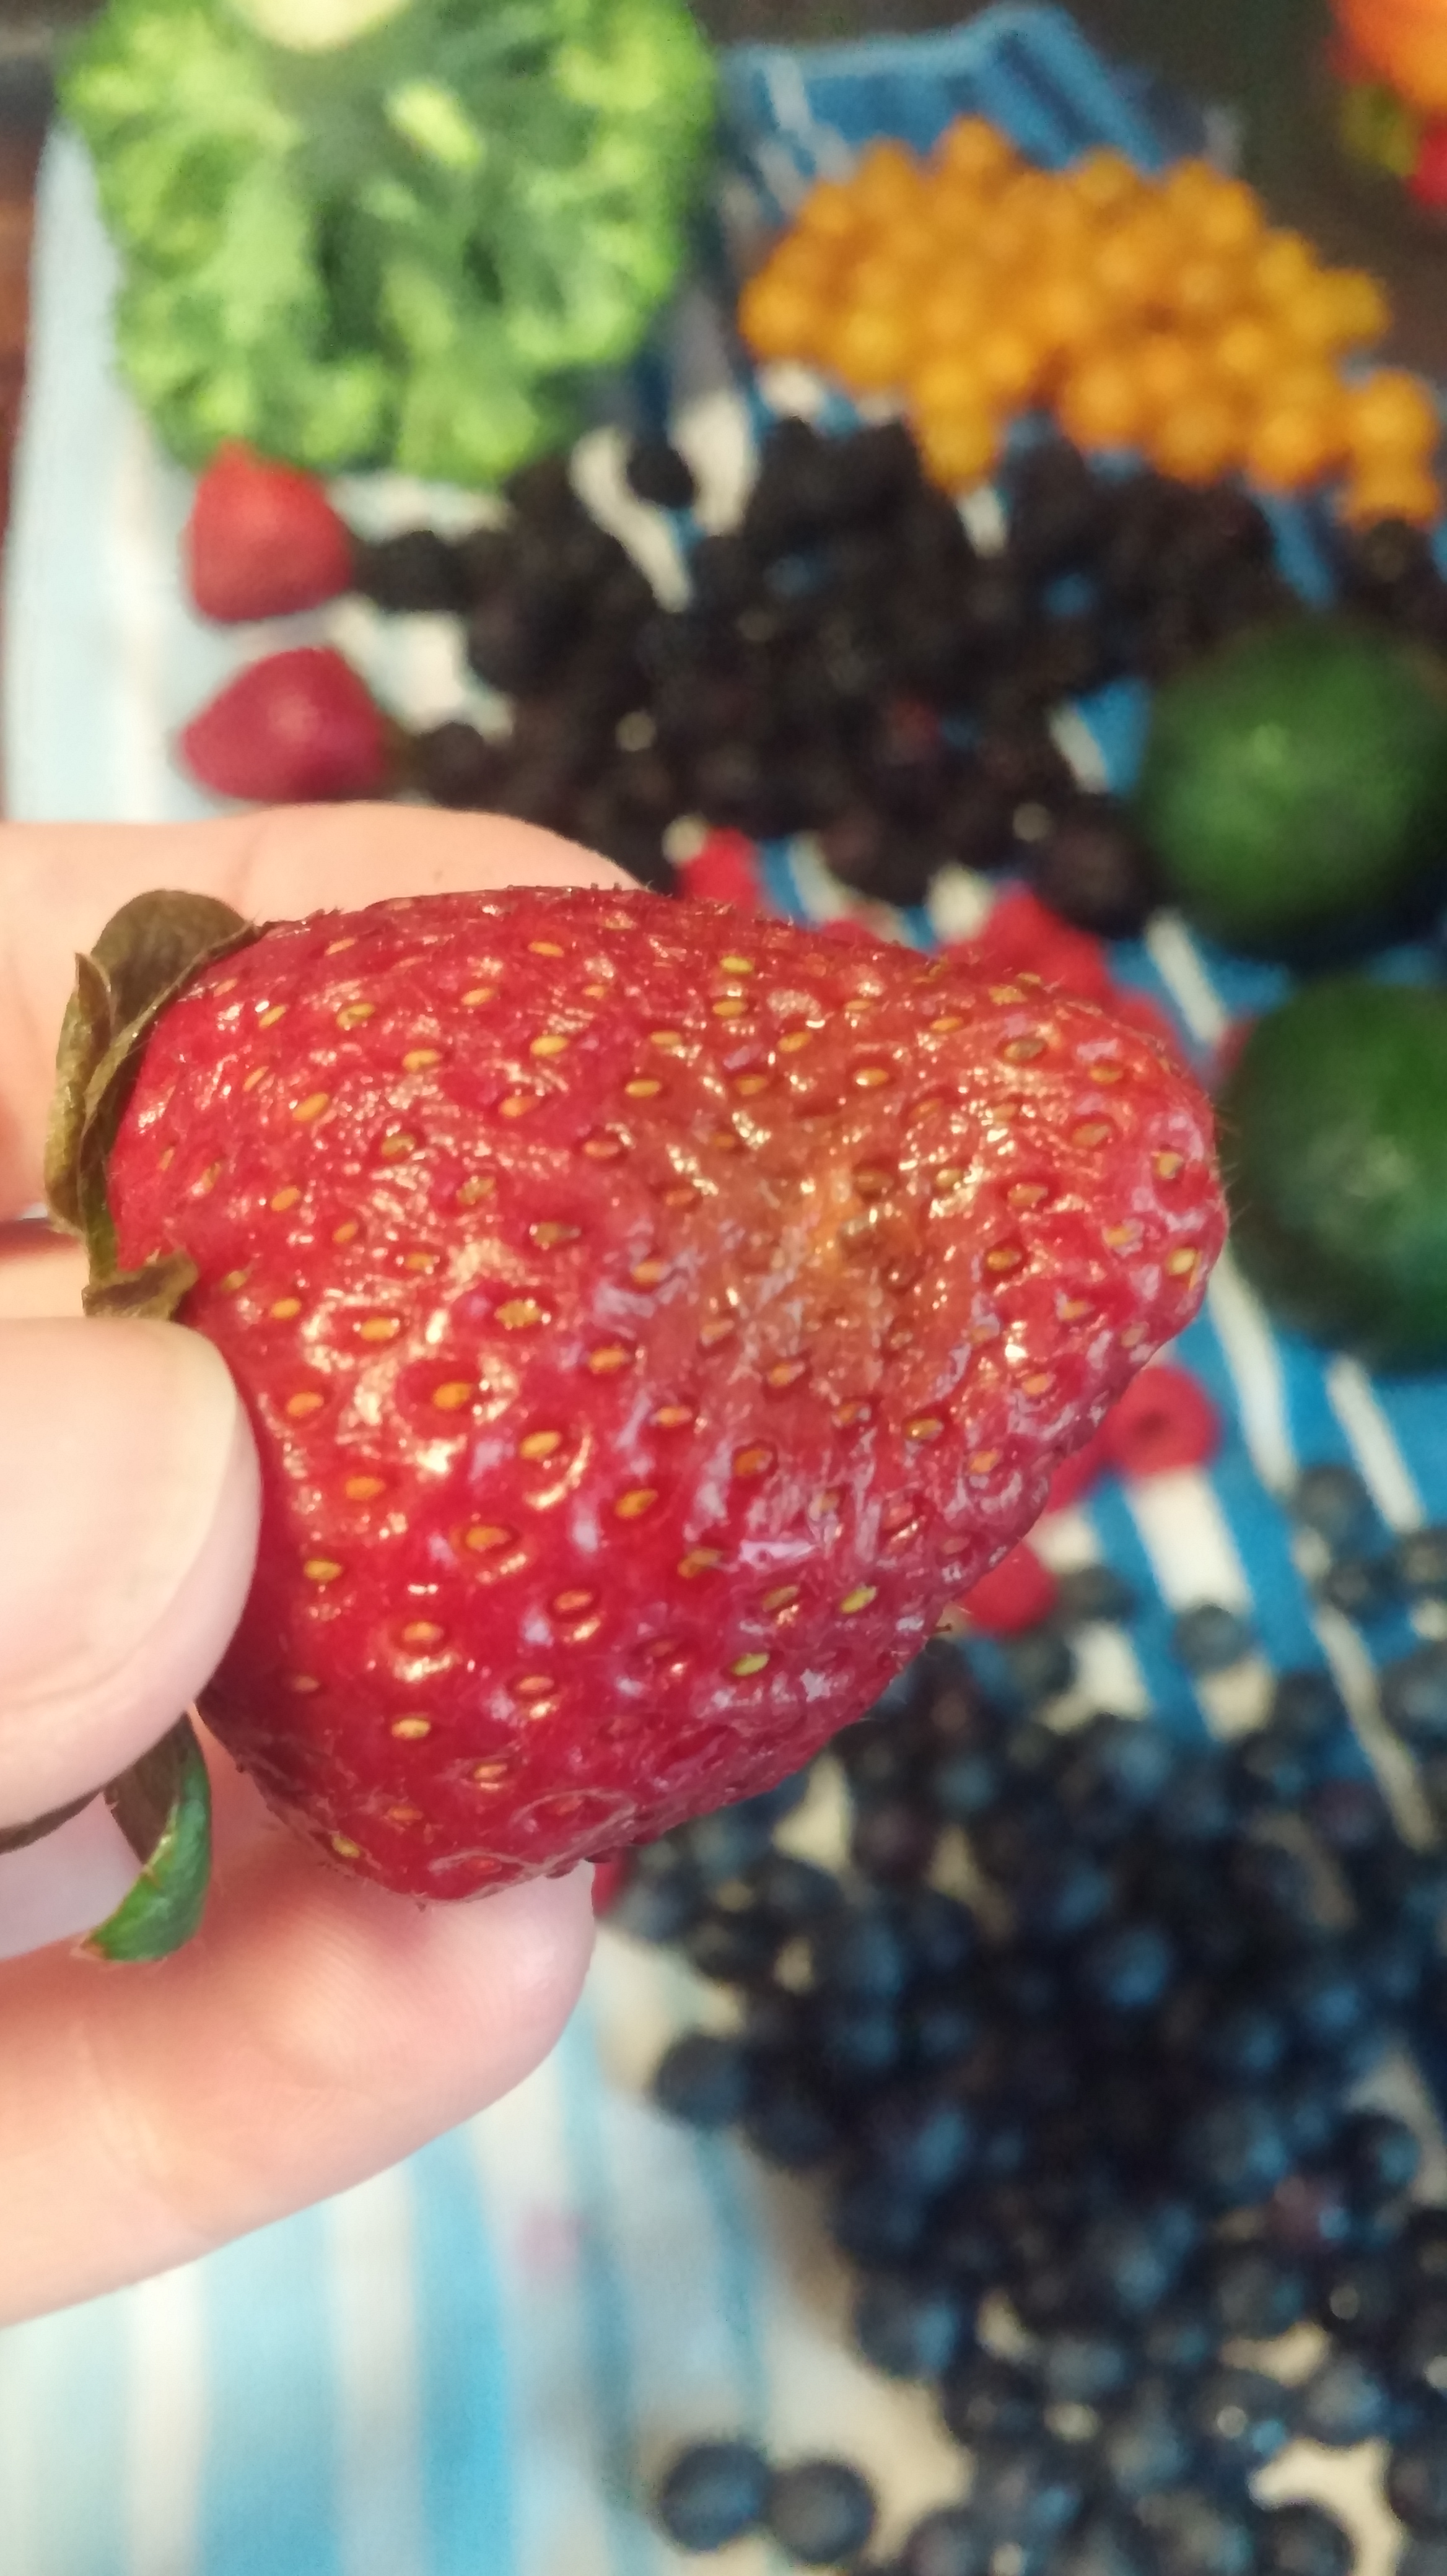
Another interesting side effect of using citrus oils on your produce is that they make it really evident if something is rotting. Take these strawberries, for instance. I looked over all the strawberries before putting them in the bath that day, and didn’t see anything obviously wrong with any of them. Yet, when I rinsed them off I noticed a good portion of them had rotten spots like this…

This one wasn’t so bad.
The inside was still good. I just cut off the bad spot.
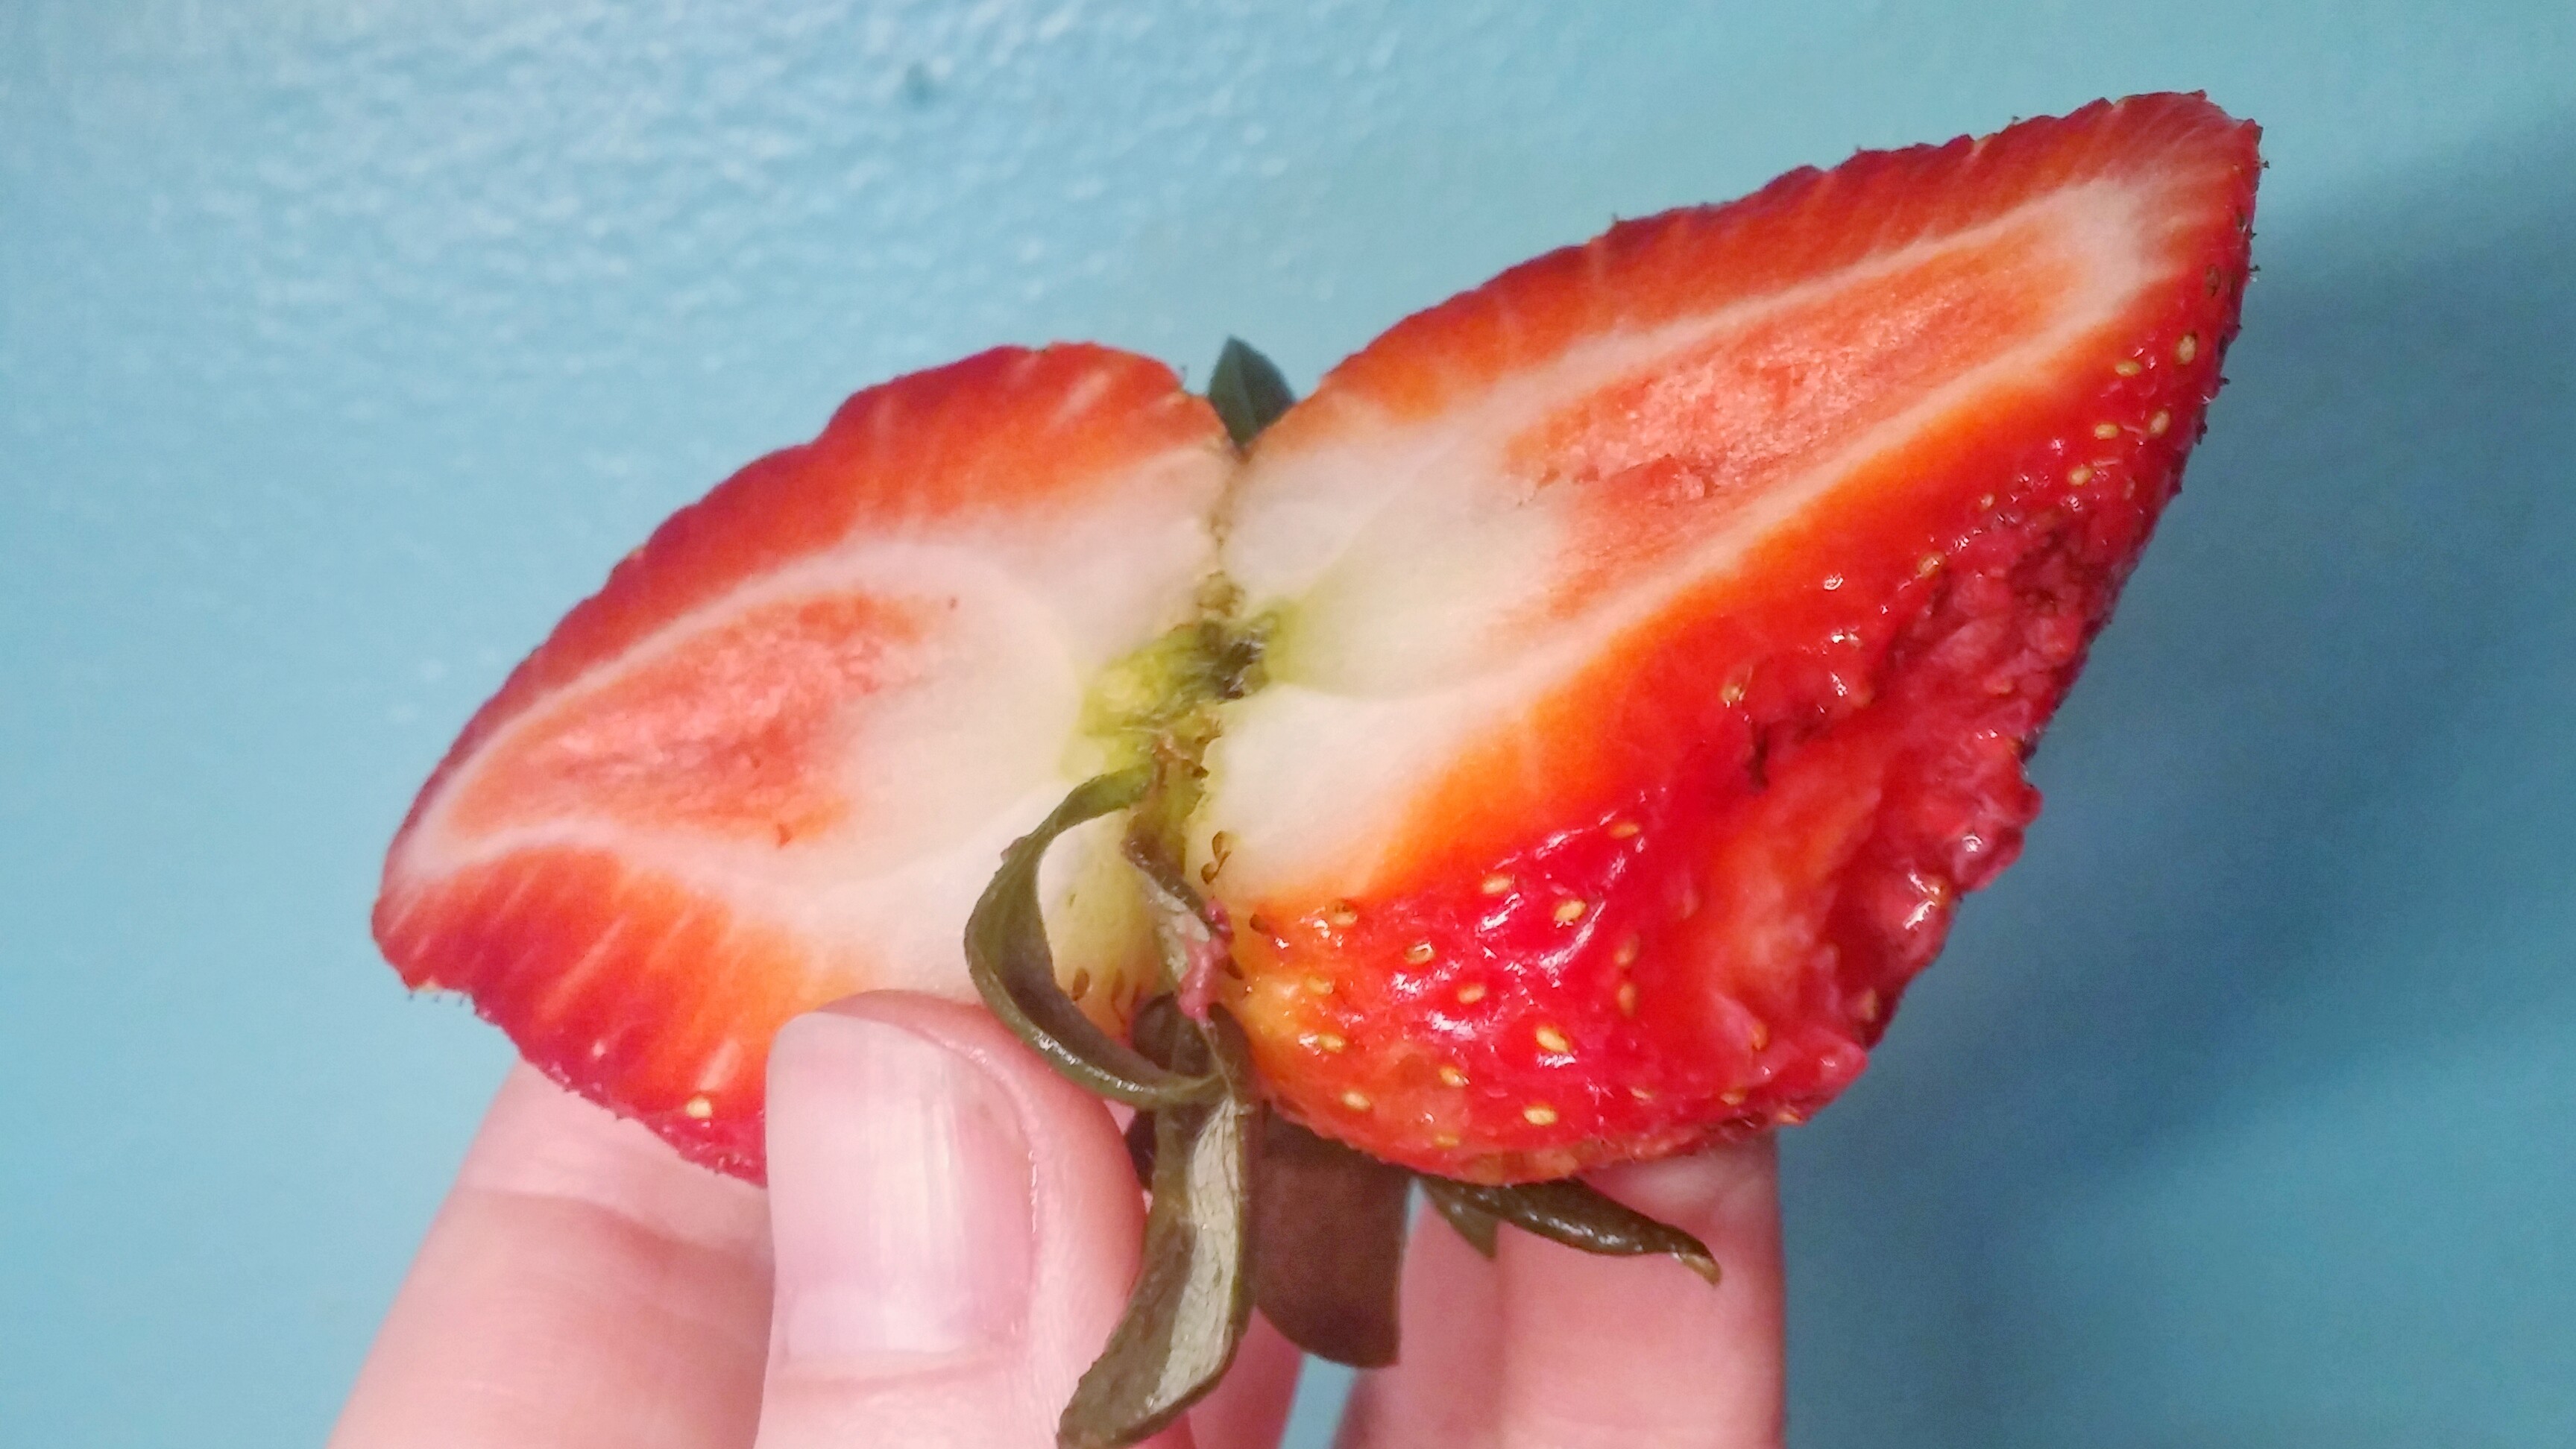
This one didn’t look too bad on the outside.
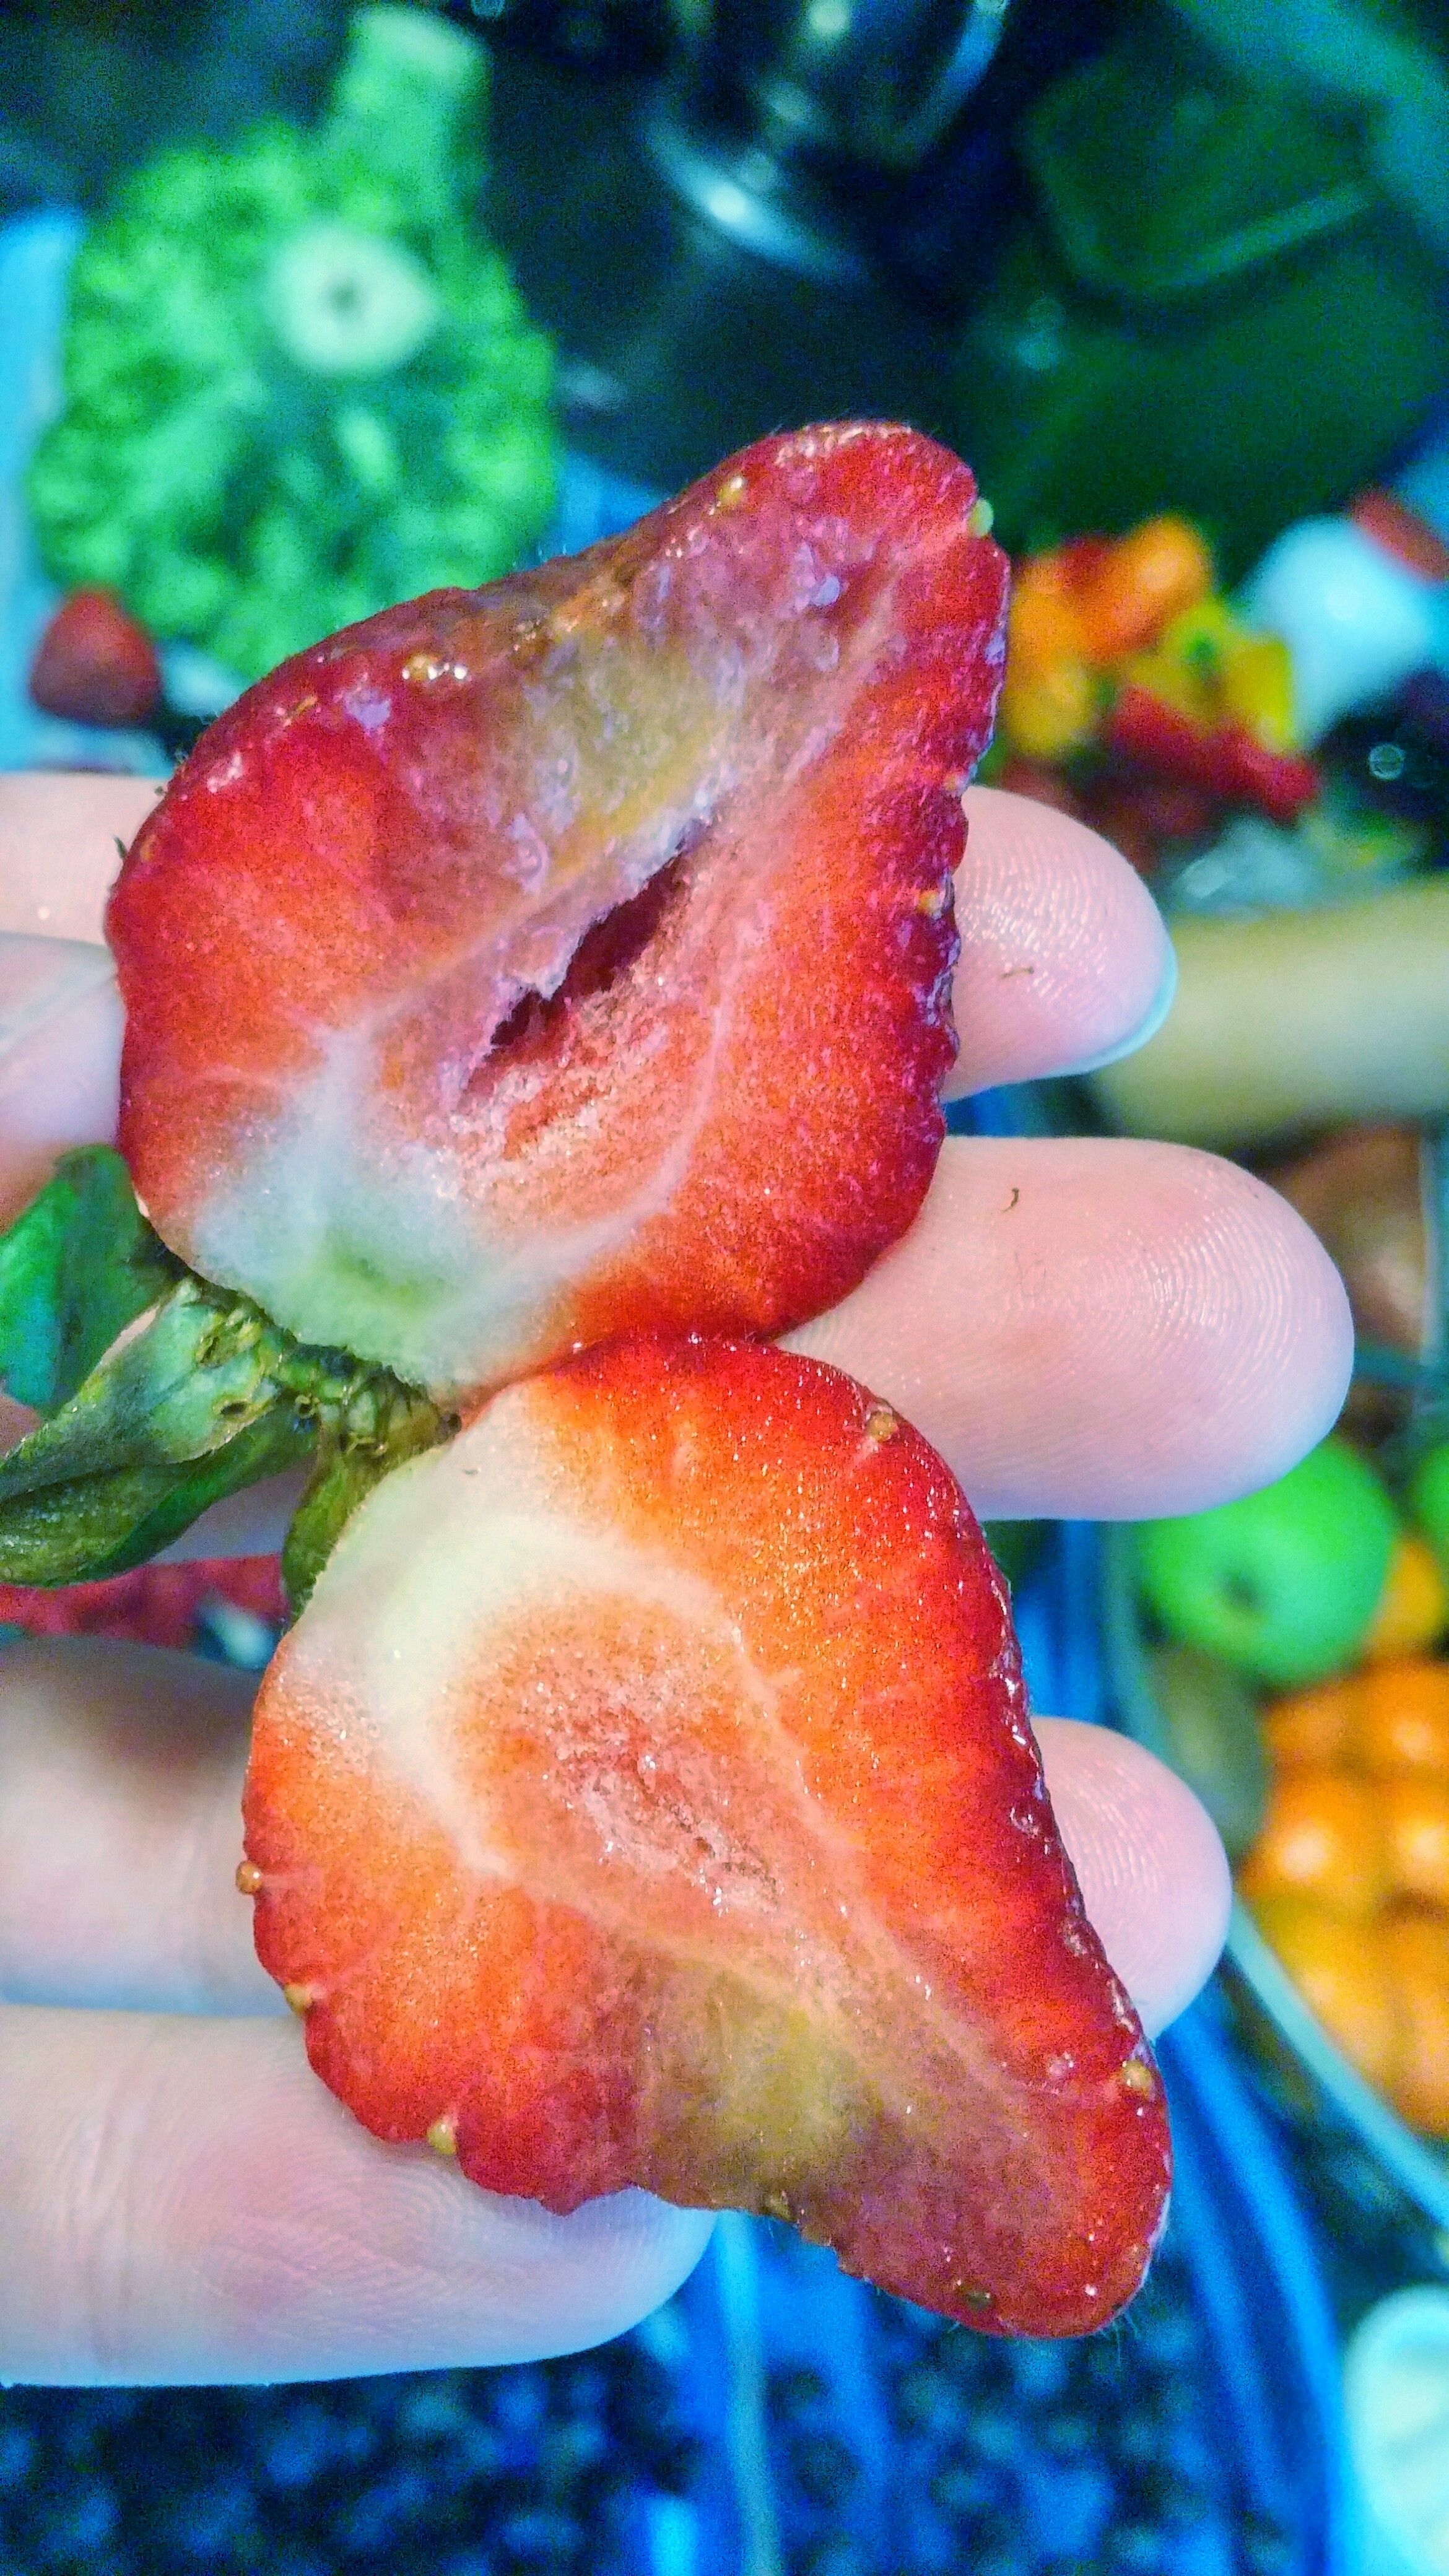
But the inside was clearly rotting. Yikes!
Pre-citrus oil bath, I might have taken a big ol’ bite out of that strawberry. Gross. I’m not sure exactly why the oils make these rotten spots more obvious, but it’s pretty handy that they do. Sometimes you just grab a bad bunch of fruit.
Alright penny pinchers, here’s what you’ve been waiting for: the price breakdown.
A 15ml bottle of Lemon Oil is $11 and a 15ml of Orange Oil is $8.50.
There are approximately 250 drops of oil in every 15ml bottle.
Lemon Oil cost calculation: $11/250 drops = .04 cents/drop.
Orange Oil cost calculation: $8.50/250 = .03 cents/drop.
If you wash in a half sink like I do, with 10 drops max that’s 30-40 cents.
I bought a big 32 ounce bottle of Dr. Bronner’s a couple years ago, and I still haven’t used it up (and I use it for more than just produce washing) – it’s $17.29 well spent.
There are 192 teaspoons in a 32 ounce bottle. $17.29/192 teaspoons = .09 cents/teaspoon.
Rounding up, that’s 40 cents of oil + 10 cents of soap = 50 cents.
So max, this method costs you 50 cents per produce bath. I usually only do one produce bath a week. A pretty cheap way to get rid of pesticides!
A 15ml bottle usually lasts me a solid 4 or 5 months – and we wash a lot of produce at our mostly whole foods eating household!
Plus citrus oils are great for cleaning, easing morning sickness/indigestion/heartburn, liver cleanses, circulatory problems, acne, weight loss, and lots more. Like I said at the beginning, essential oils are a versatile, worthwhile investment. 🙂
Happy cleaning!
—–
A side note on buying essential oils:
I do not sell essential oils, because I’m not a fan of multilevel marketing (MLM) schemes. I buy all my oils through Rocky Mountain Oils (who merged with Native American Nutritionals, so the oils are the same no matter which company you order from). They sell 100% pure, therapeutic grade oils just like the big MLM companies (DoTerra and Young Living Oils); I’ve tried the MLM oils and I can tell you the quality/results seem exactly the same as Rocky Mountain Oils’ stuff. I love that RMO gives full disclosure on where/how all their oils are sourced, and that they do third party testing on every batch for quality. And I super love that they source a lot of their oils from local, small organic farmers around the world through fair trade practices. Plus their prices aren’t marked up to compensate salespeople, so you get oils at a lower cost. My oils have always arrived in perfect condition within two business days, and I’ve never had any problems reaching customer service right away if I’ve had questions. Also, unlike some of the bigger companies, RMO seems to almost never have oils out of stock. So you can get what you need when you need it. Just had to throw my two cents out there. 😉